- Microsoft Designer is one of the best free tools for designing graphics, posters, and illustrations using your web browser.
- You can also generate AI images using Microsoft Designer.
- Further, you can edit images by adding filters and text, erasing objects, and removing backgrounds using the tool.
1. Generate a Design
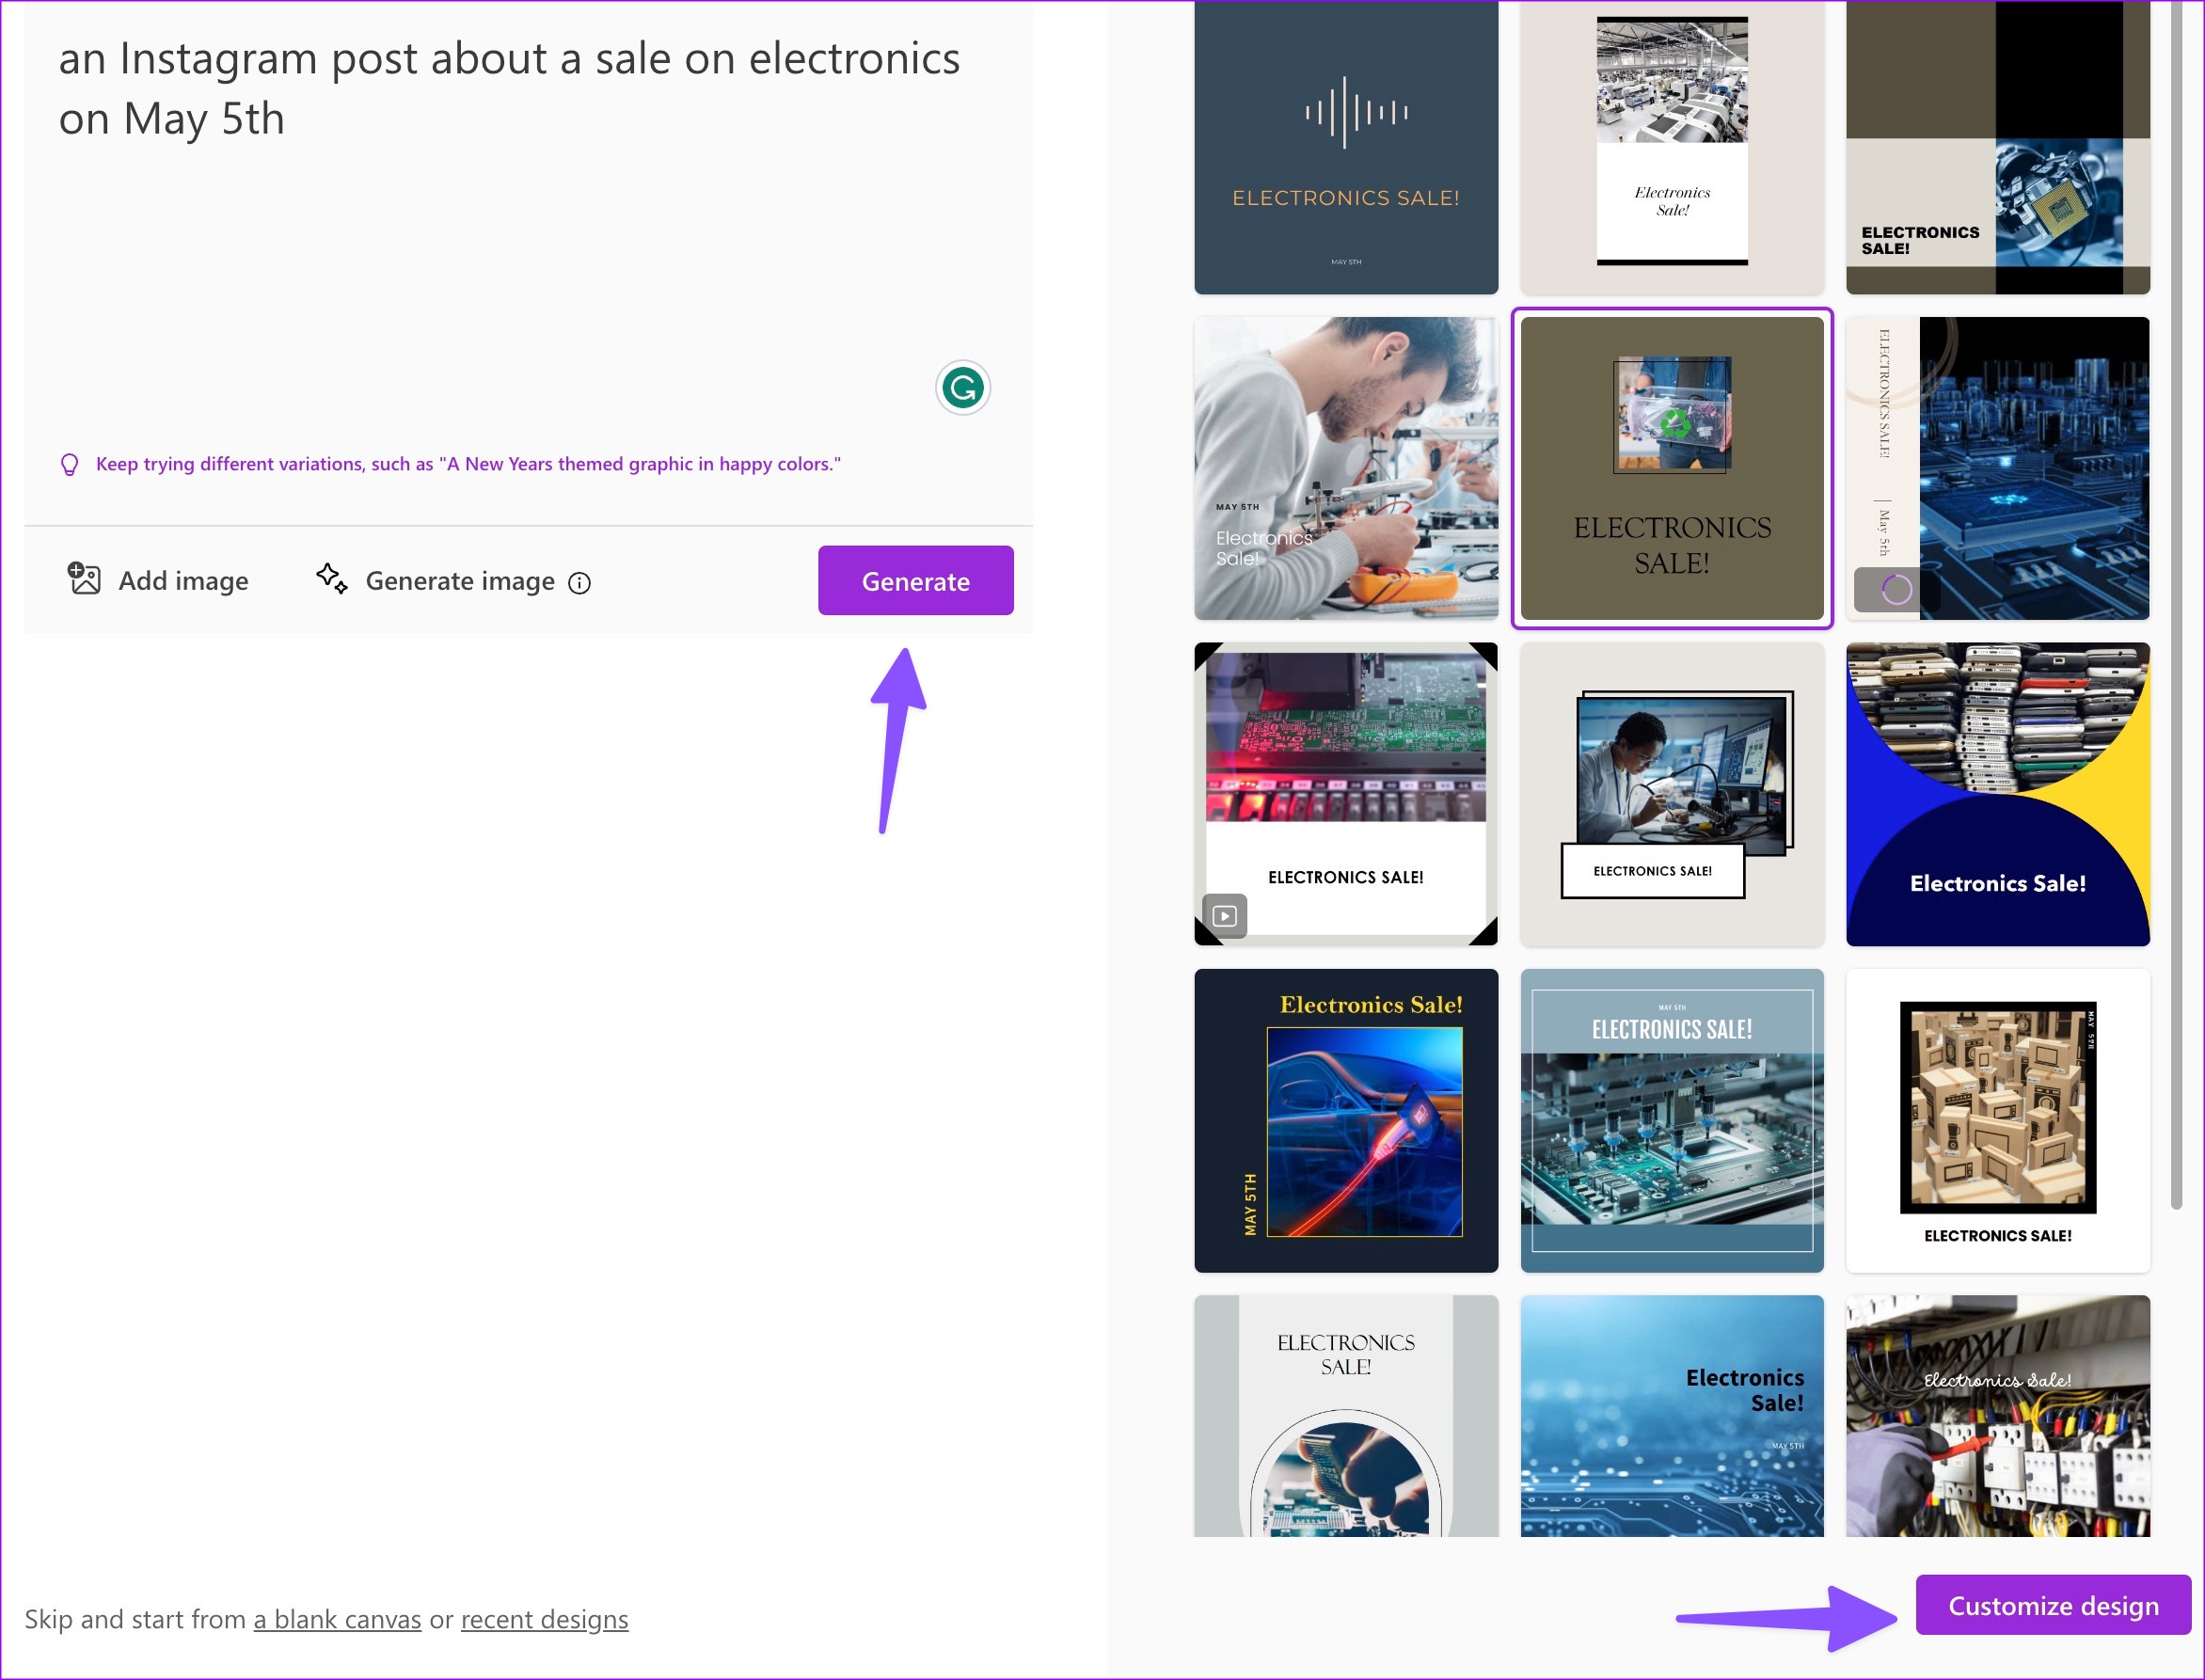
For starters, you can type what you want to design on Microsoft Designer. You can pick your favorite design and start customizing it to your preference.
We asked Designer to create an Instagram post about a sale on electronics on May 5 and hit the Generate button . The designer quickly created several pictures and videos with relevant details.
2. Generate Graphics on an Existing Image
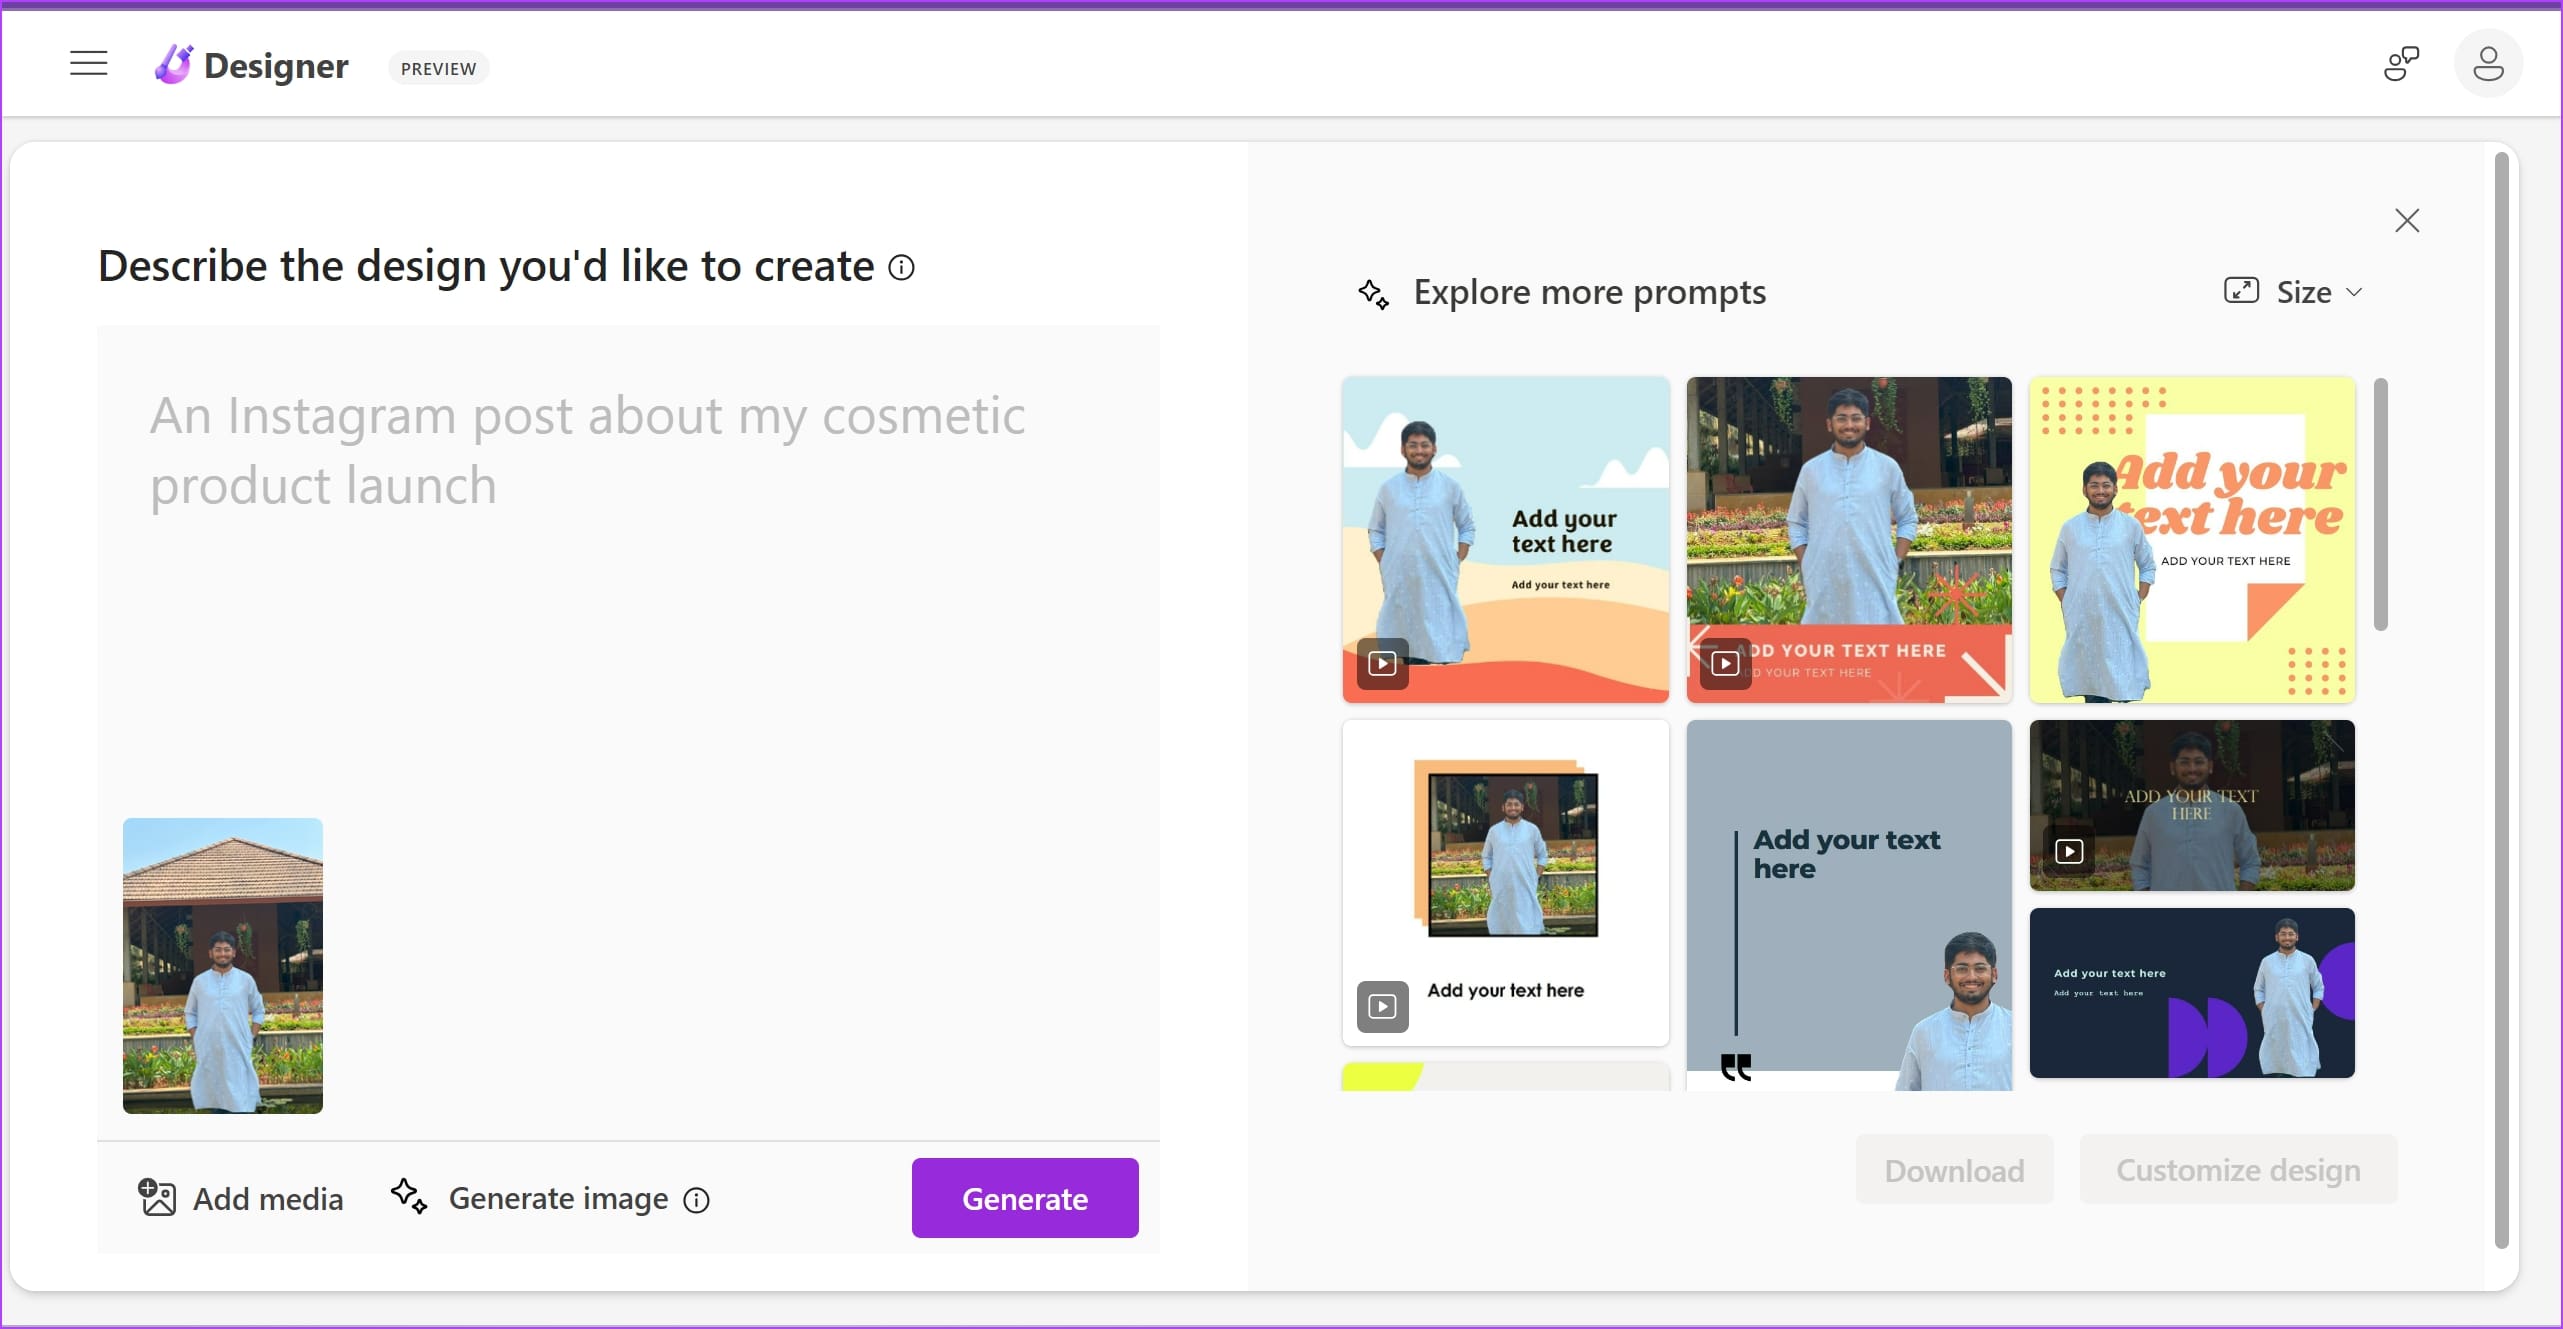
You can also upload an image and enter a prompt to generate graphics over it. Use the Add Media button, upload the image, and enter your prompt . You can also explore a set of prompts for ideas and suggestions.
3. Try an Existing Prompt
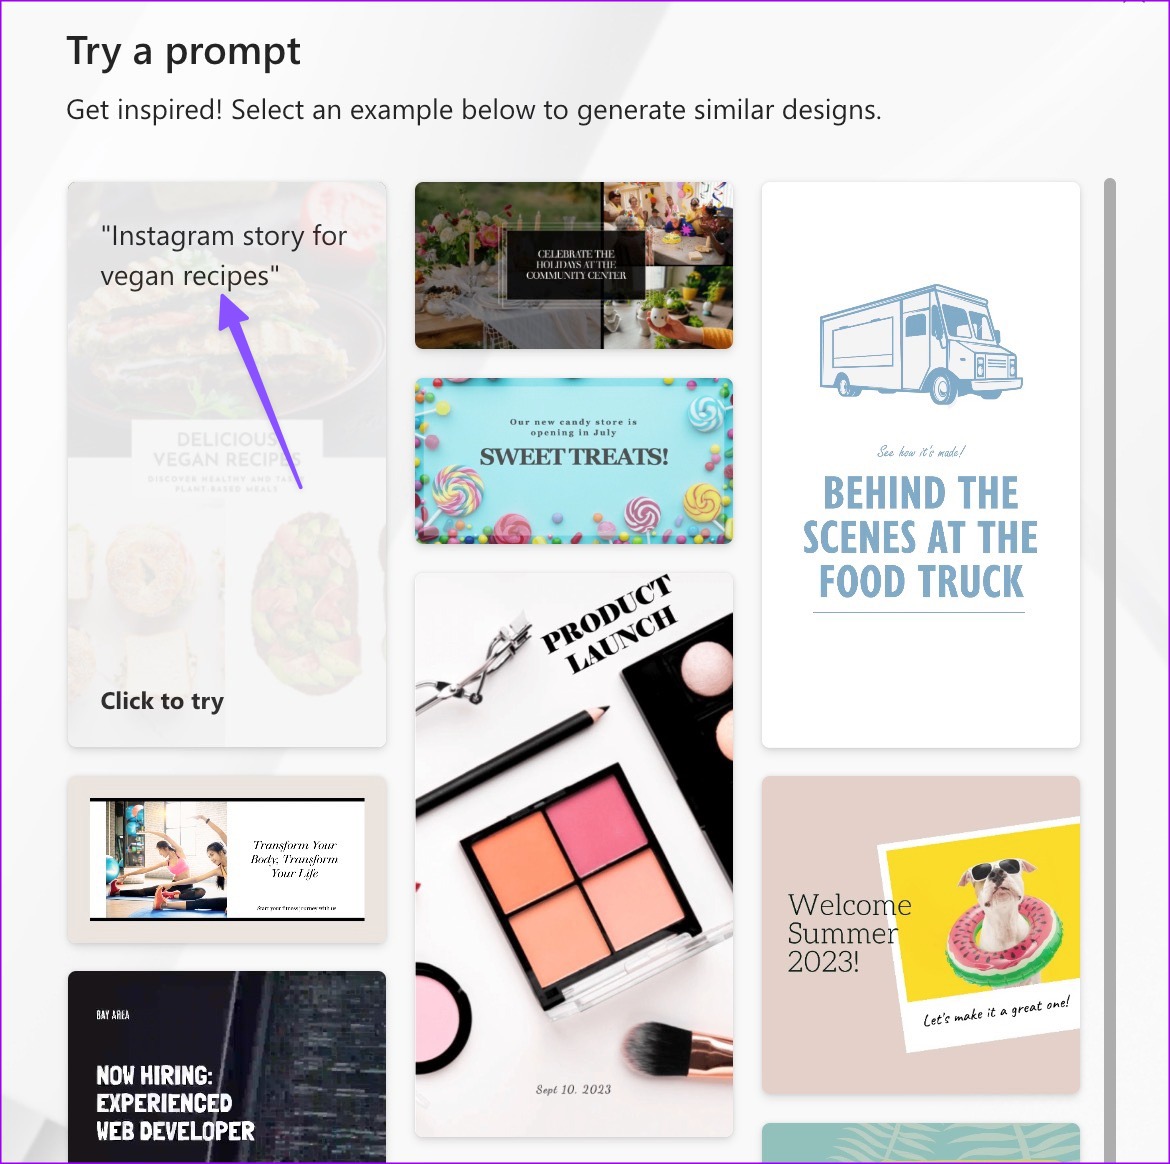
You can check several ready-to-use examples in Microsoft Designer to get some inspiration. Hover the cursor over a design and check prompts. You must check several prompts to understand how to write a description in Designer.
4. Generate an Image Using the Description
Do you want to generate an image using a description? You can easily do so in Microsoft Designer.
Step 1: Head to Microsoft Designer home and click Generate image .

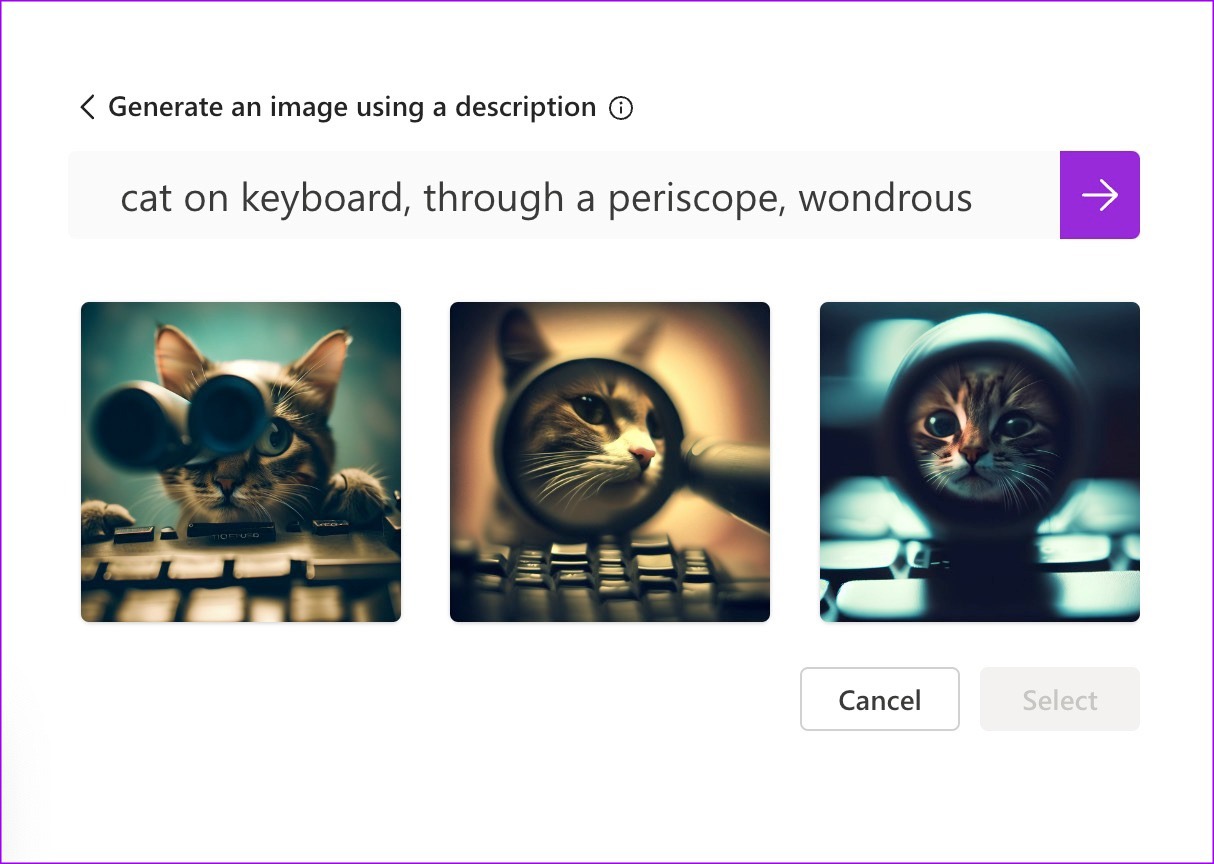
Step 2: You can check some prompts to get inspiration. Write the image description and click the arrow icon .
Here is what the app came up with when we wrote ‘cat on the keyboard, through a periscope, wondrous’ as a description in Designer. Select an image, check ready-to-use templates with the picture and description, and start customizing the design.
You can also import an image from the desktop and enter text to review design ideas.
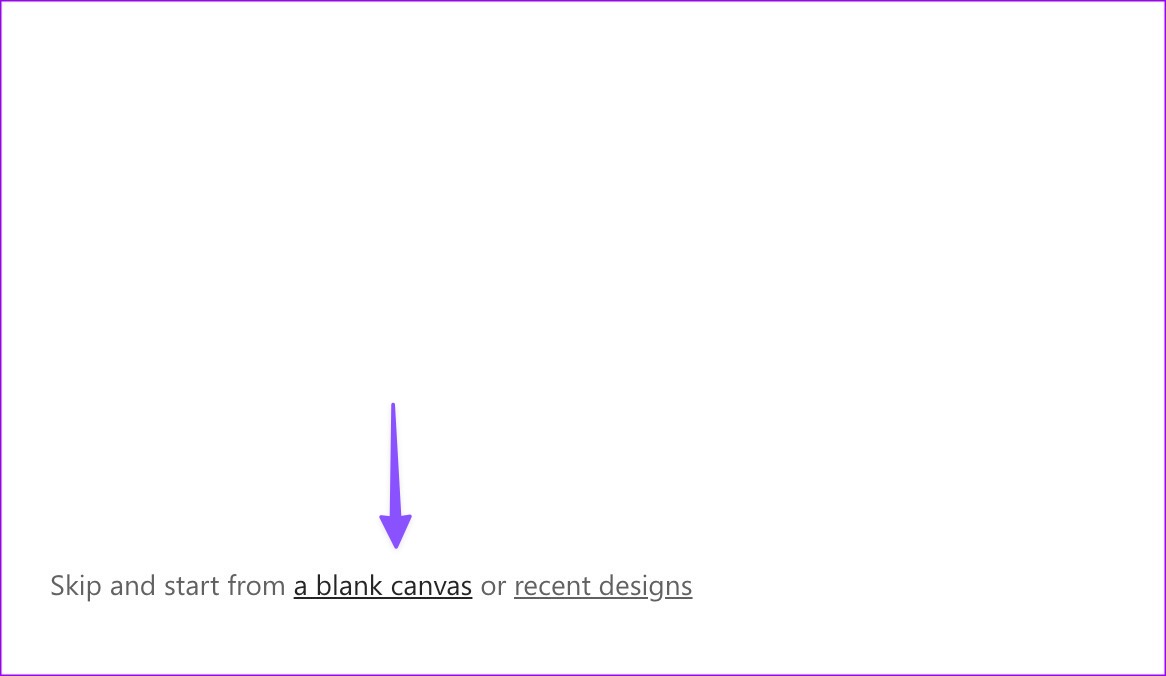
5. Start With a Blank Canvas
If you don’t want AI help, you can always start with a blank canvas in Designer. Click blank canvas/design at the bottom and pick an appropriate size for your Instagram posts, Facebook ads, and stories.
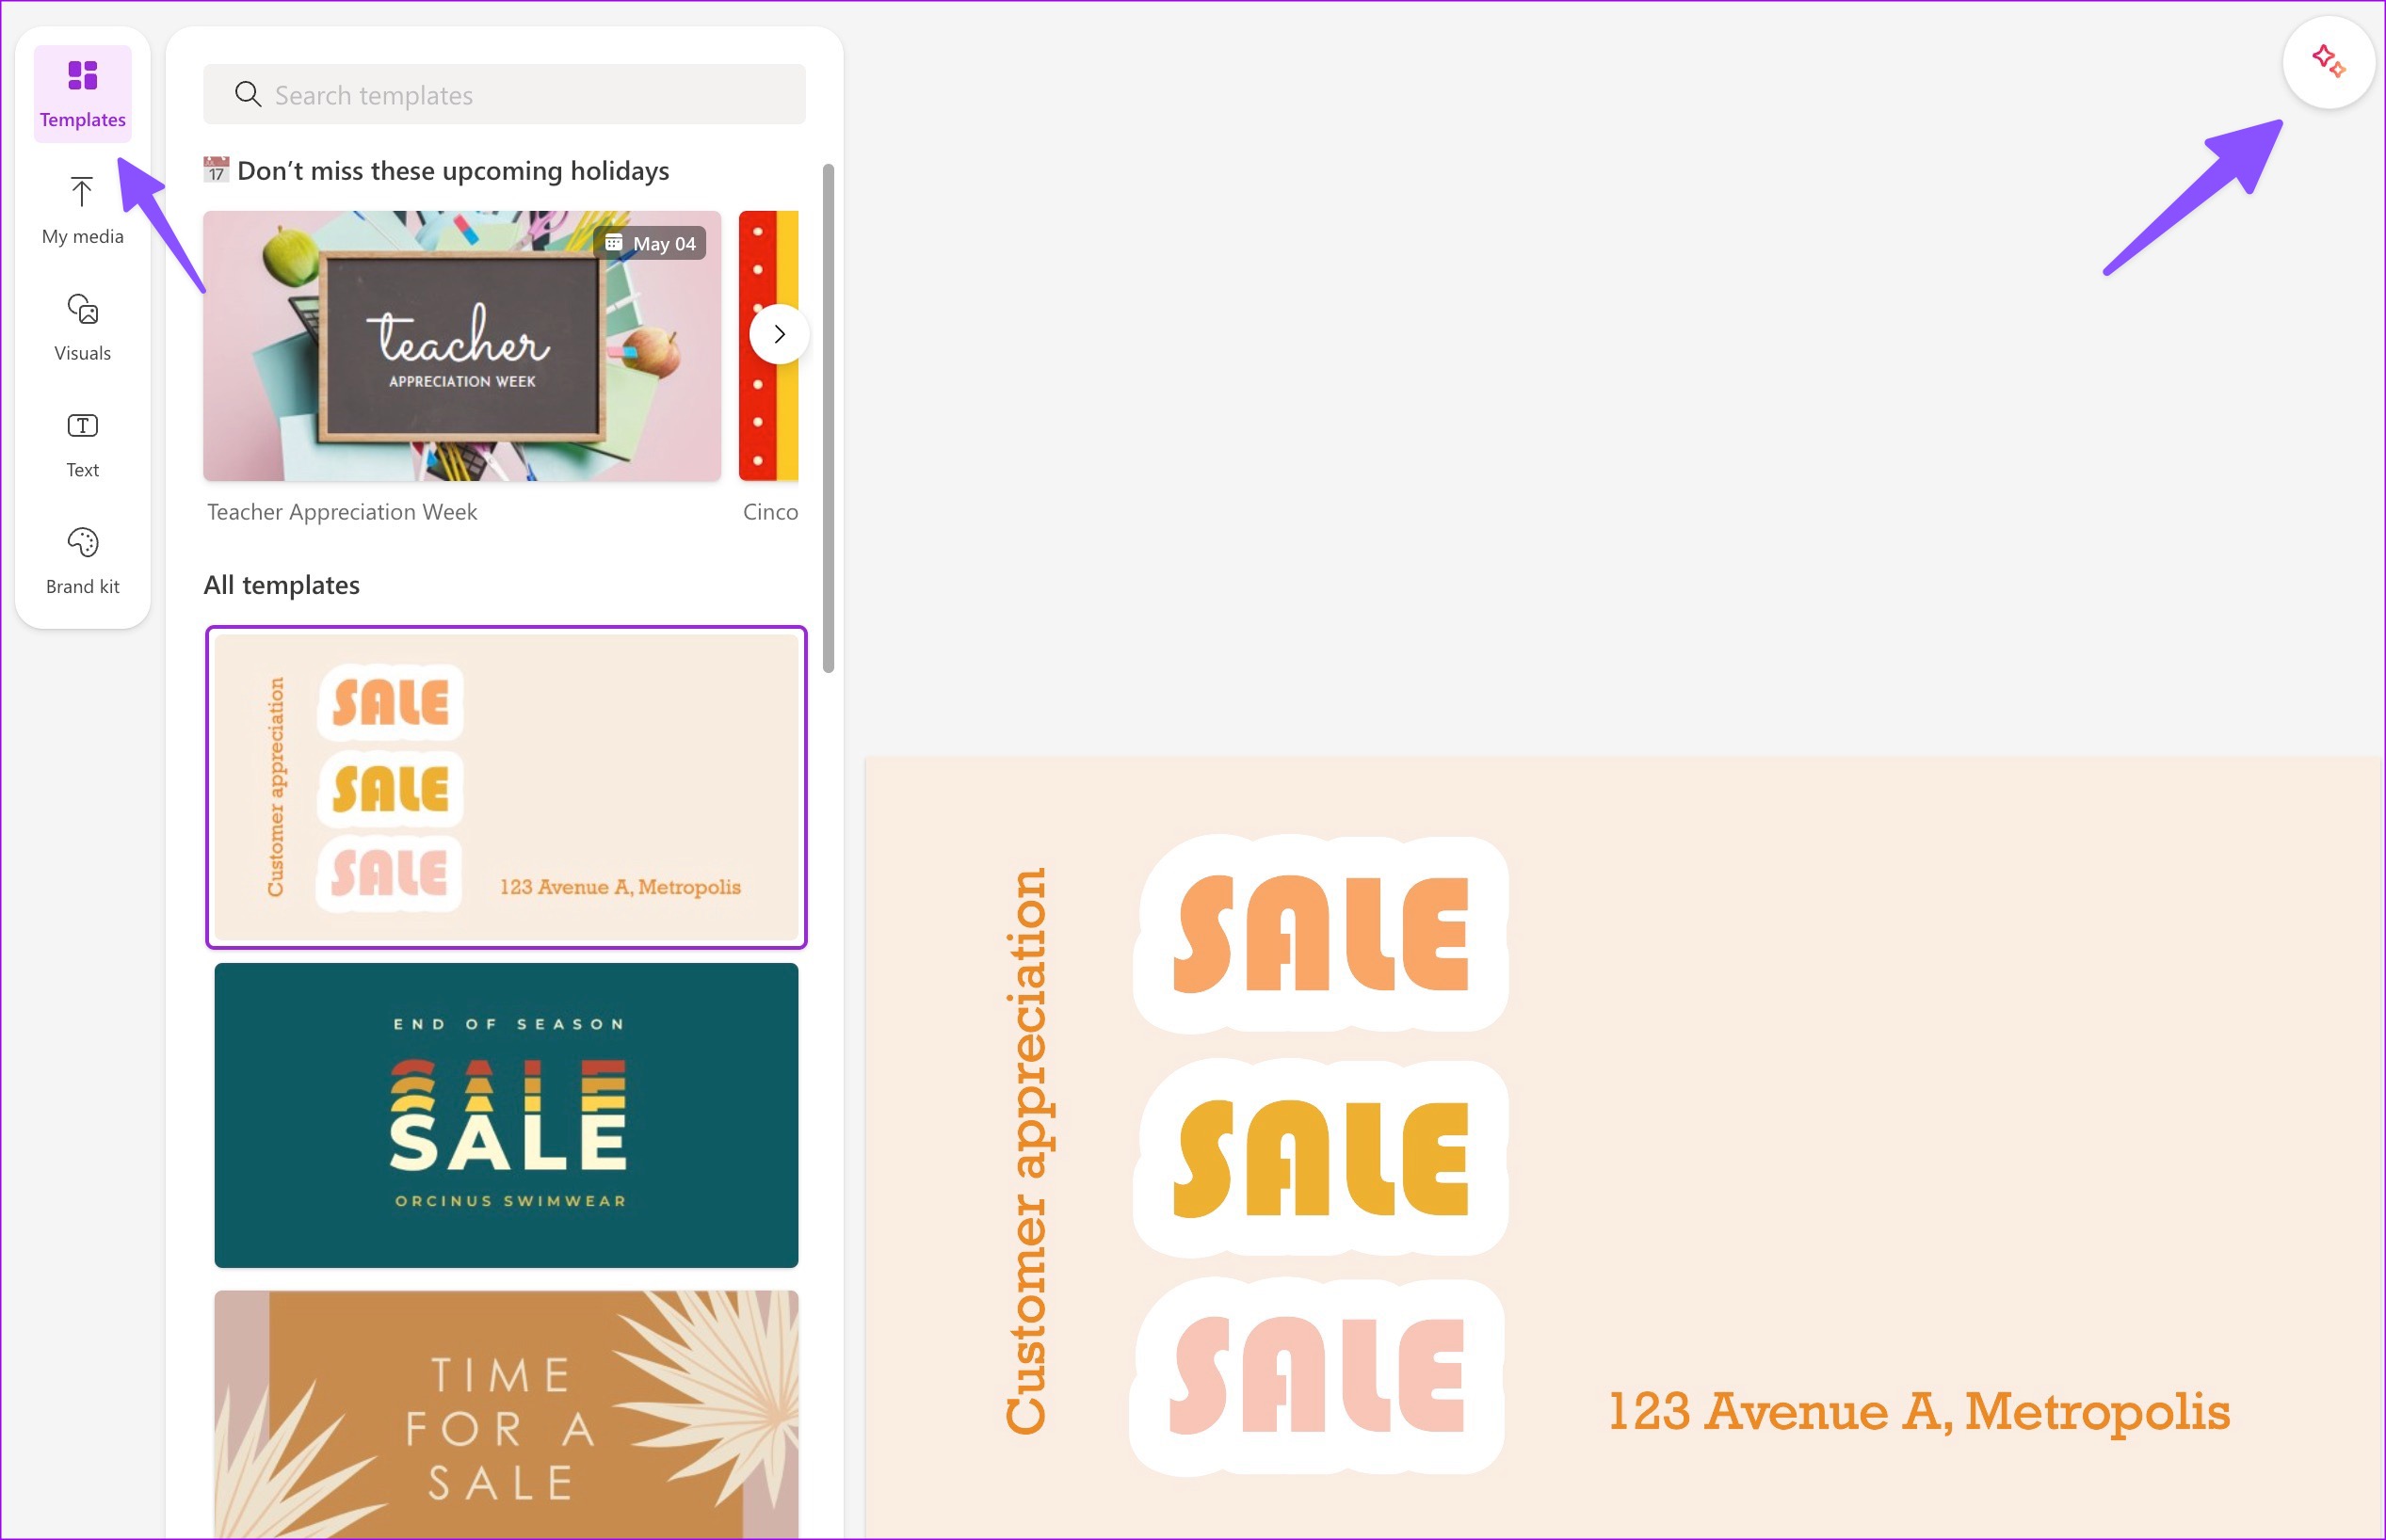
6. Check Templates and Design Ideas
You can check some ready-to-use templates based on your canvas size. Once you select a template, click the Ideas button to review similar designs and suggested add-ons or graphic overlays to your existing project.
7. Use Generative Erase
You can erase objects from the background of an image using the Generative Erase tool.
Upload an image to your project using the My Media option. Select the image, tap the Image tools button, and select Generative Erase from the left menu. Select the objects you want to remove using Quick Select or the Brush Select tool.

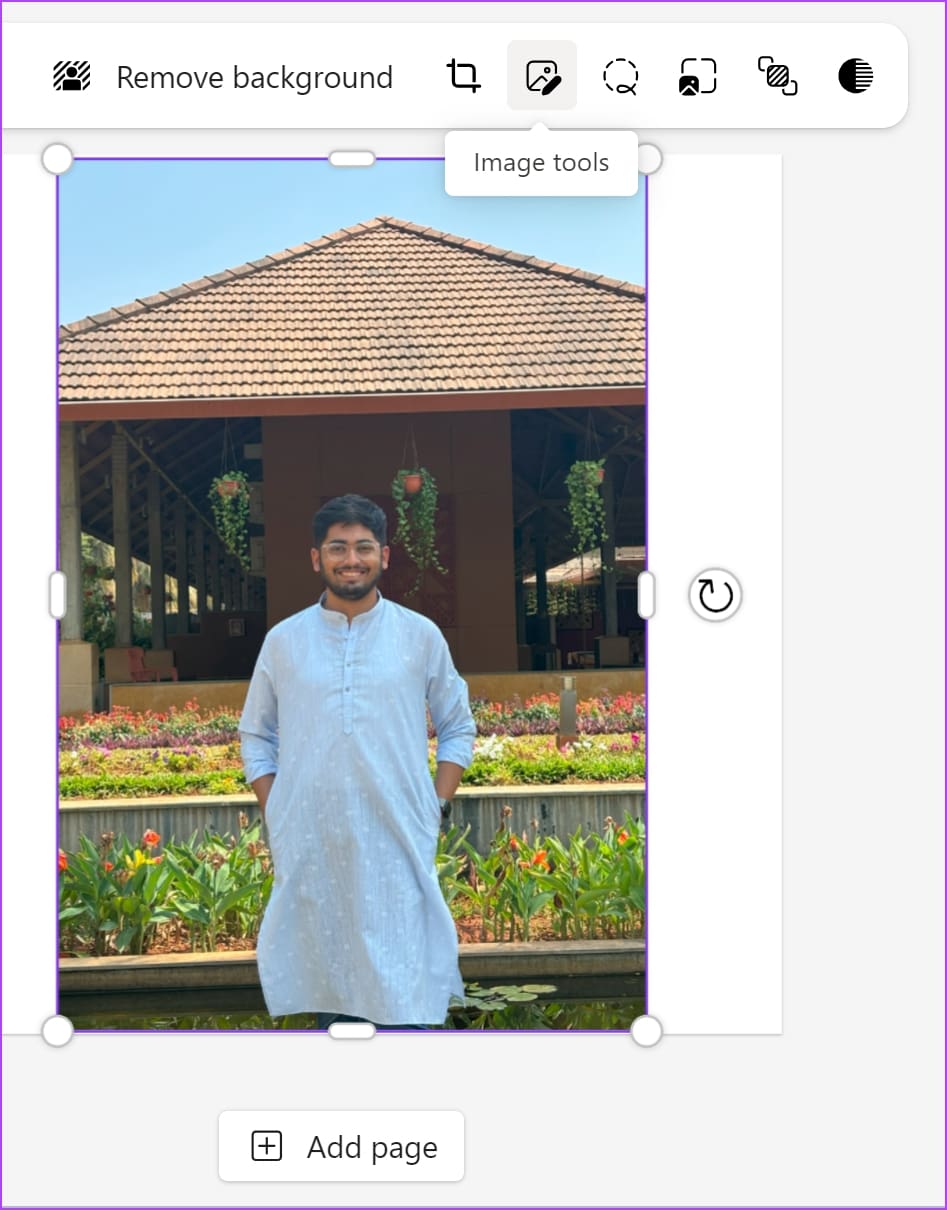
8. Remove the Background From Image
You can easily remove the background from any image using the Remove Background option.
Upload an image to your project using the My Media option. Select the image, tap the Image tools button, and select Remove background from the left menu.
9. Blur Background
If you haven’t captured an image using portrait mode , you can use Microsoft Designer to blur the background.
Upload an image to your project using the My Media option. Select the image, tap the Image tools button, and select Blur background from the left menu.

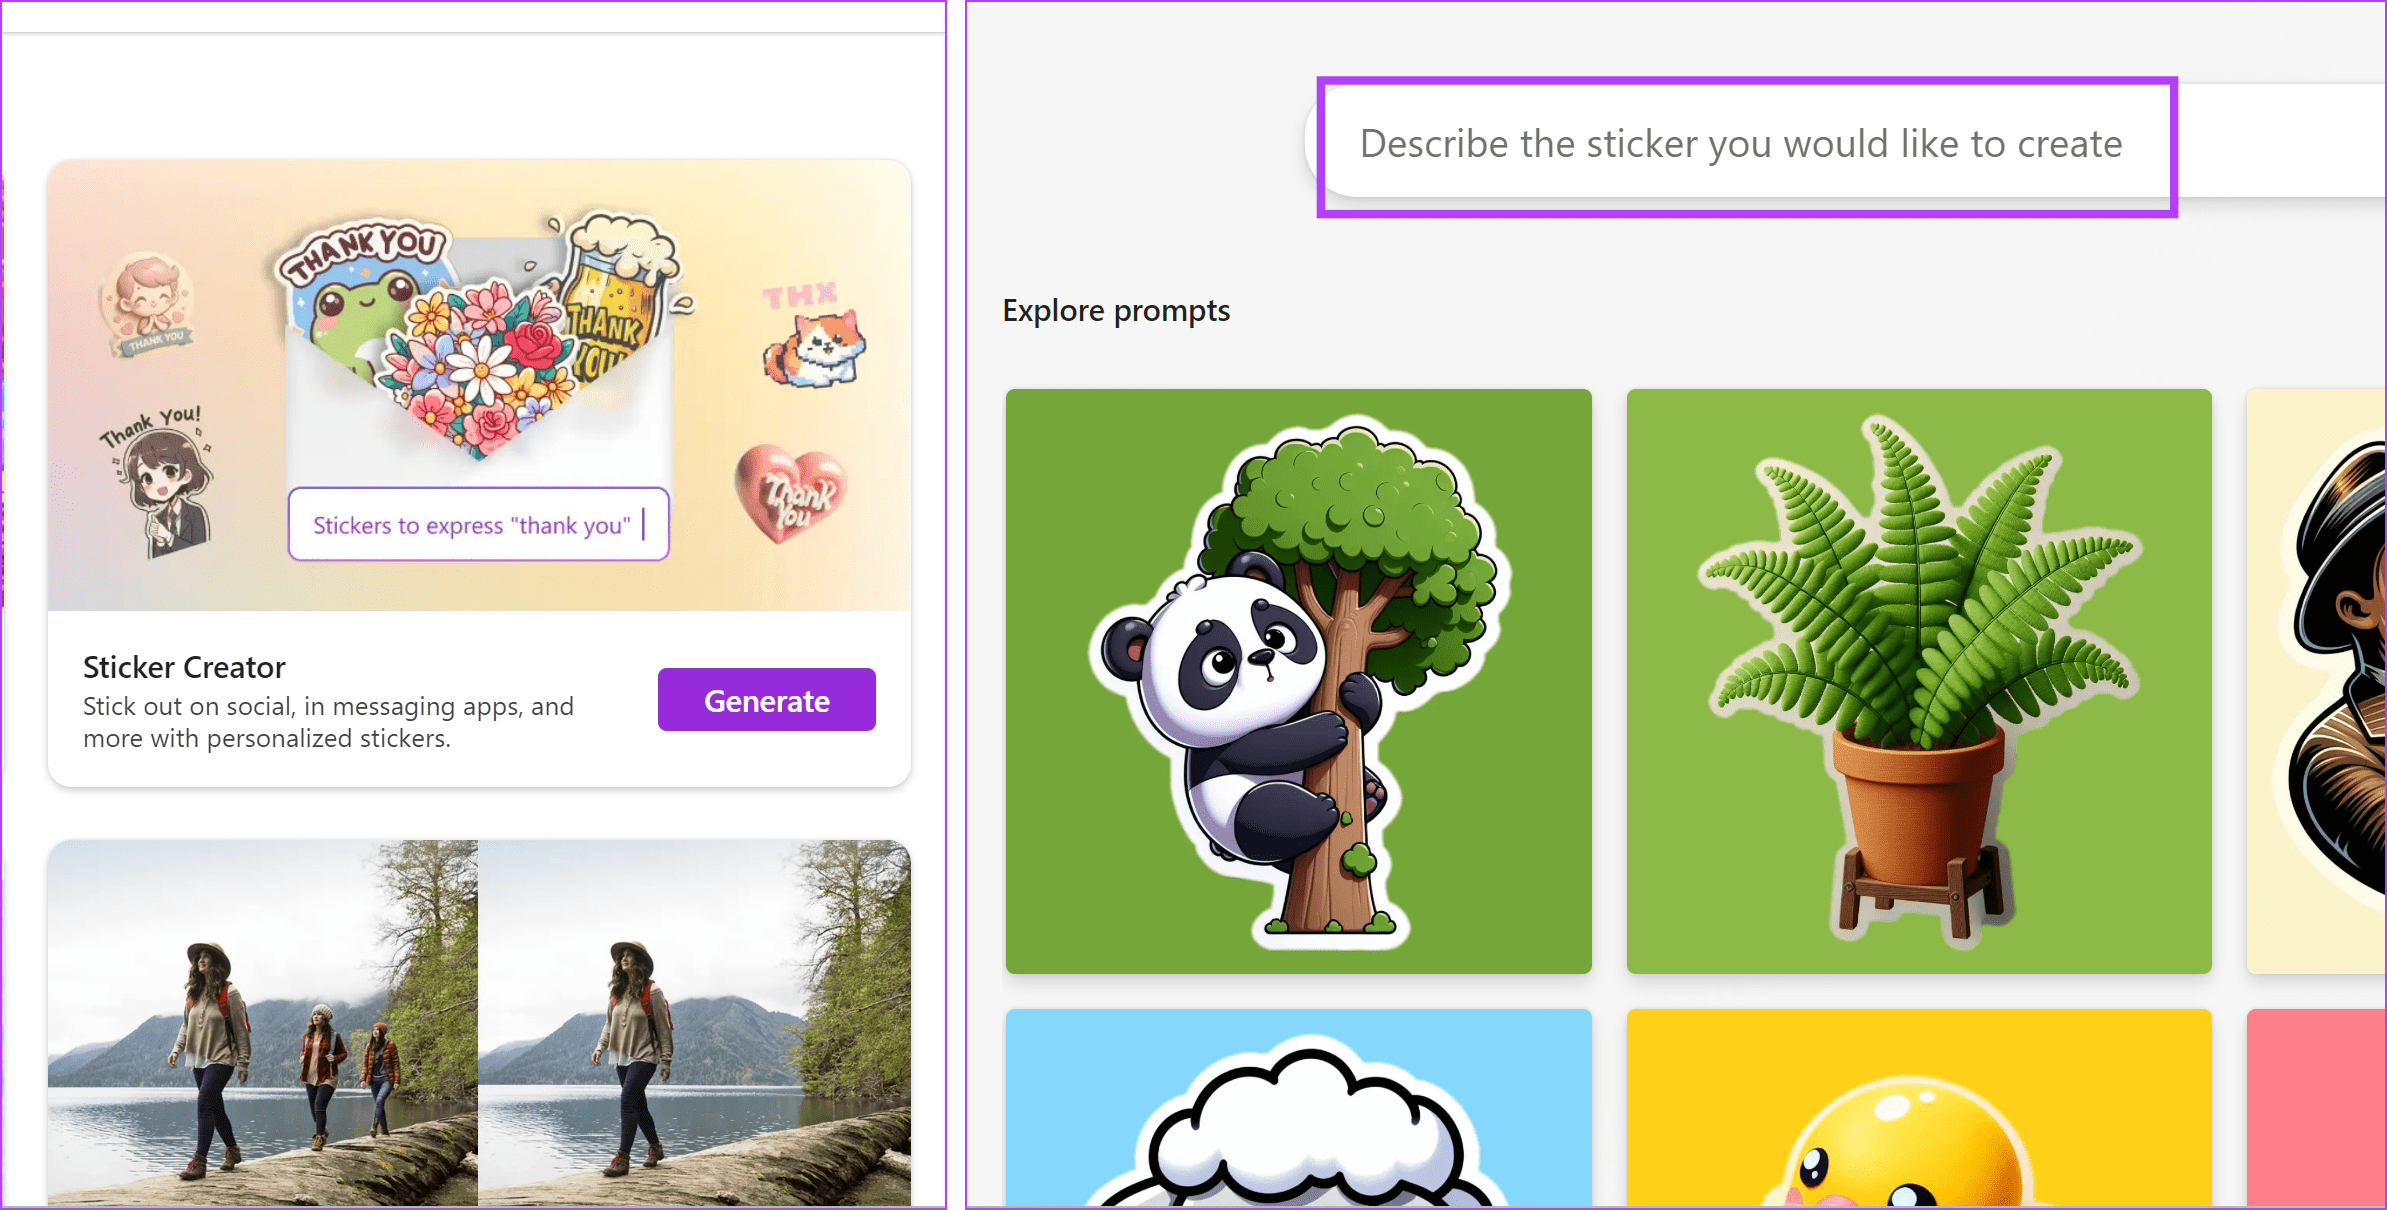
10. Use Sticker Creator
If you’re a fan of using stickers in your text message conversations, you can create some on Microsoft Designer. On the home page, click on the Sticker Creator feature. Select from the preset stickers/prompts or generate one of your own.
11. Check Visuals
Microsoft Designer has a rich library of photos, videos, and graphics for your design. You can select Visuals from the sidebar and check stock photos, videos, illustrations, icons, frames, shapes, and more.

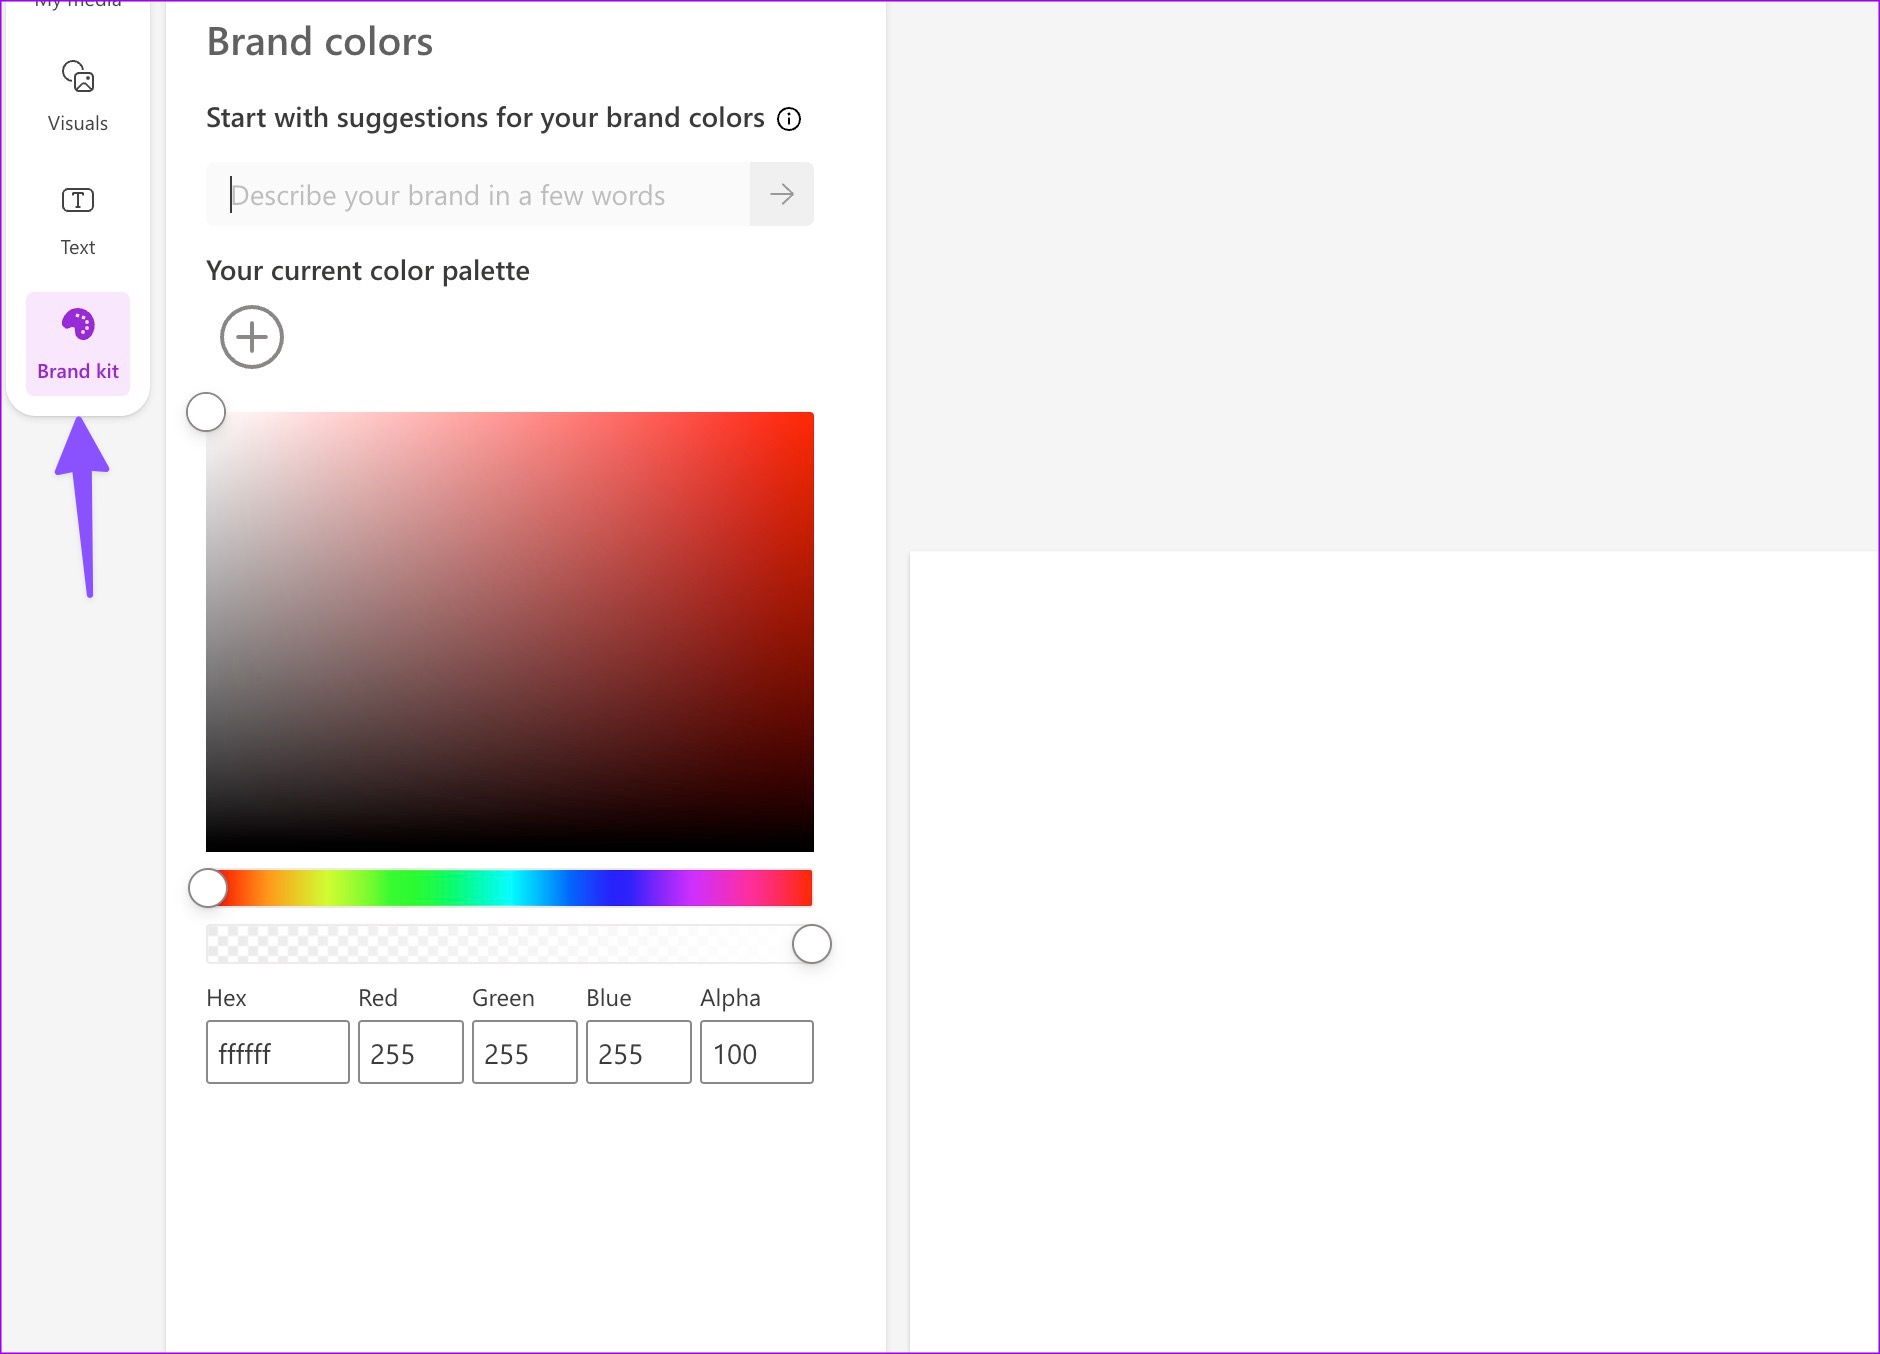
12. Create a Brand Kit
You can create a brand kit in Microsoft Designer and ensure all your designs look and feel the same and match your company personality. You can move to the Brand kit tab and pick from several options.
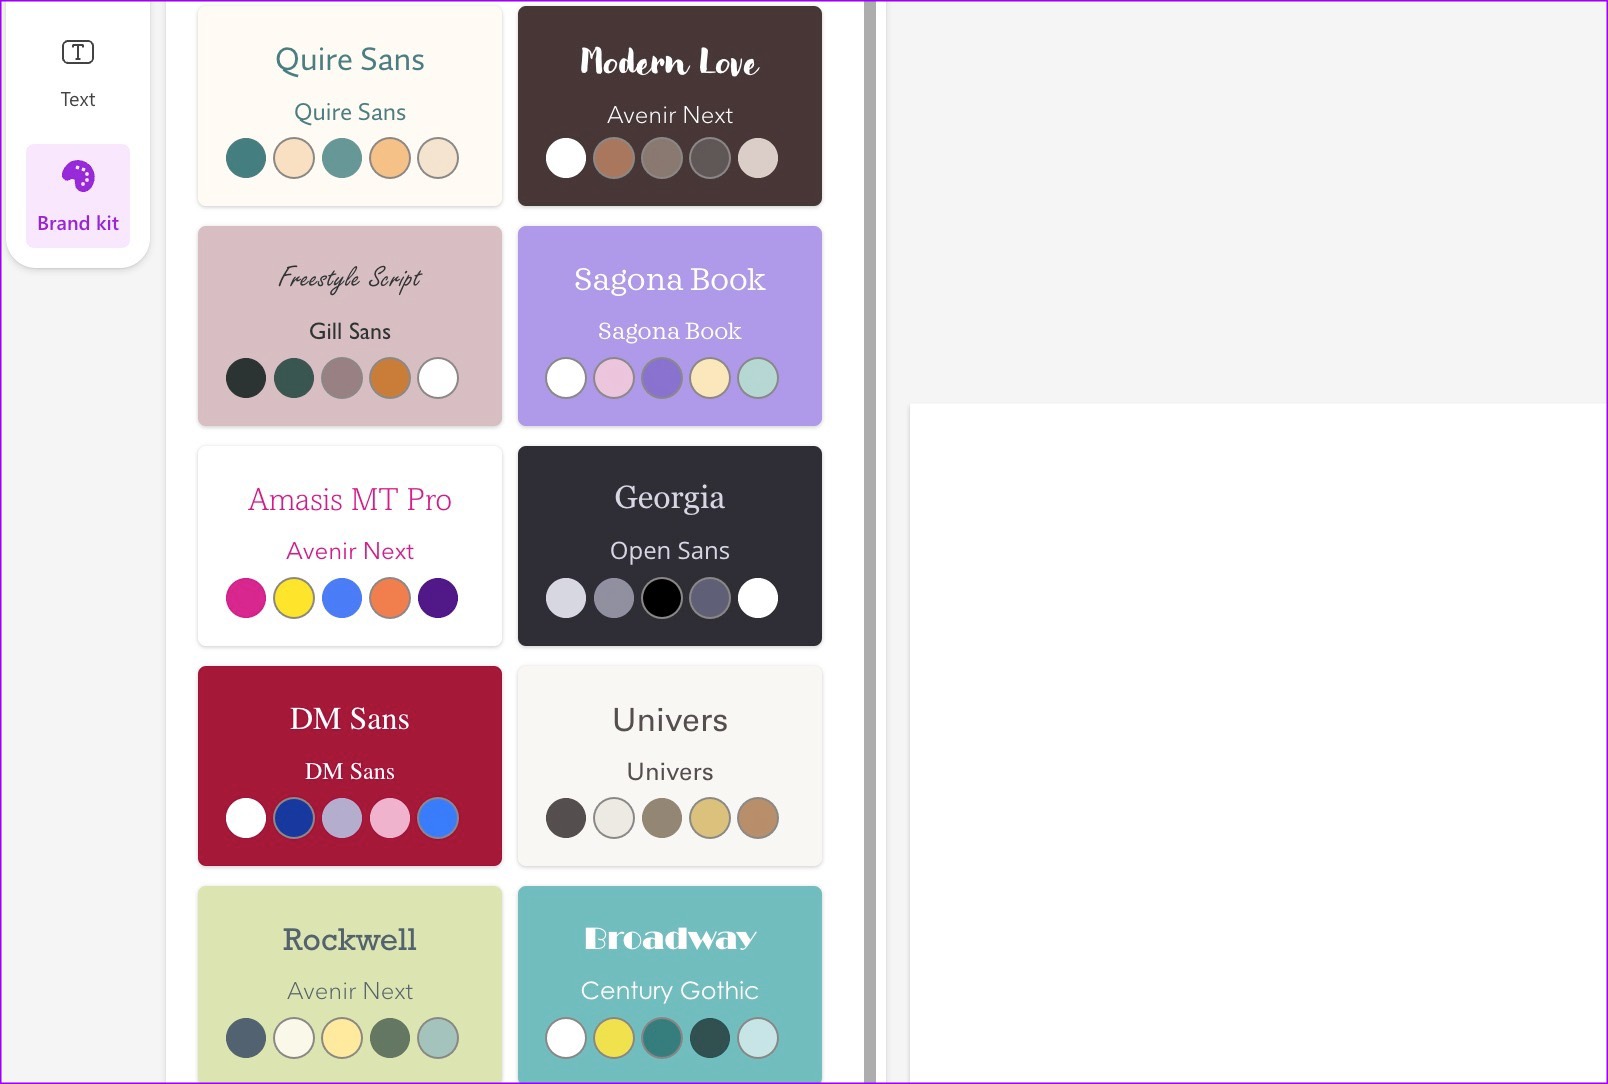
You can also create a brand kit by selecting a heading, subheading, body text type, and color palette.
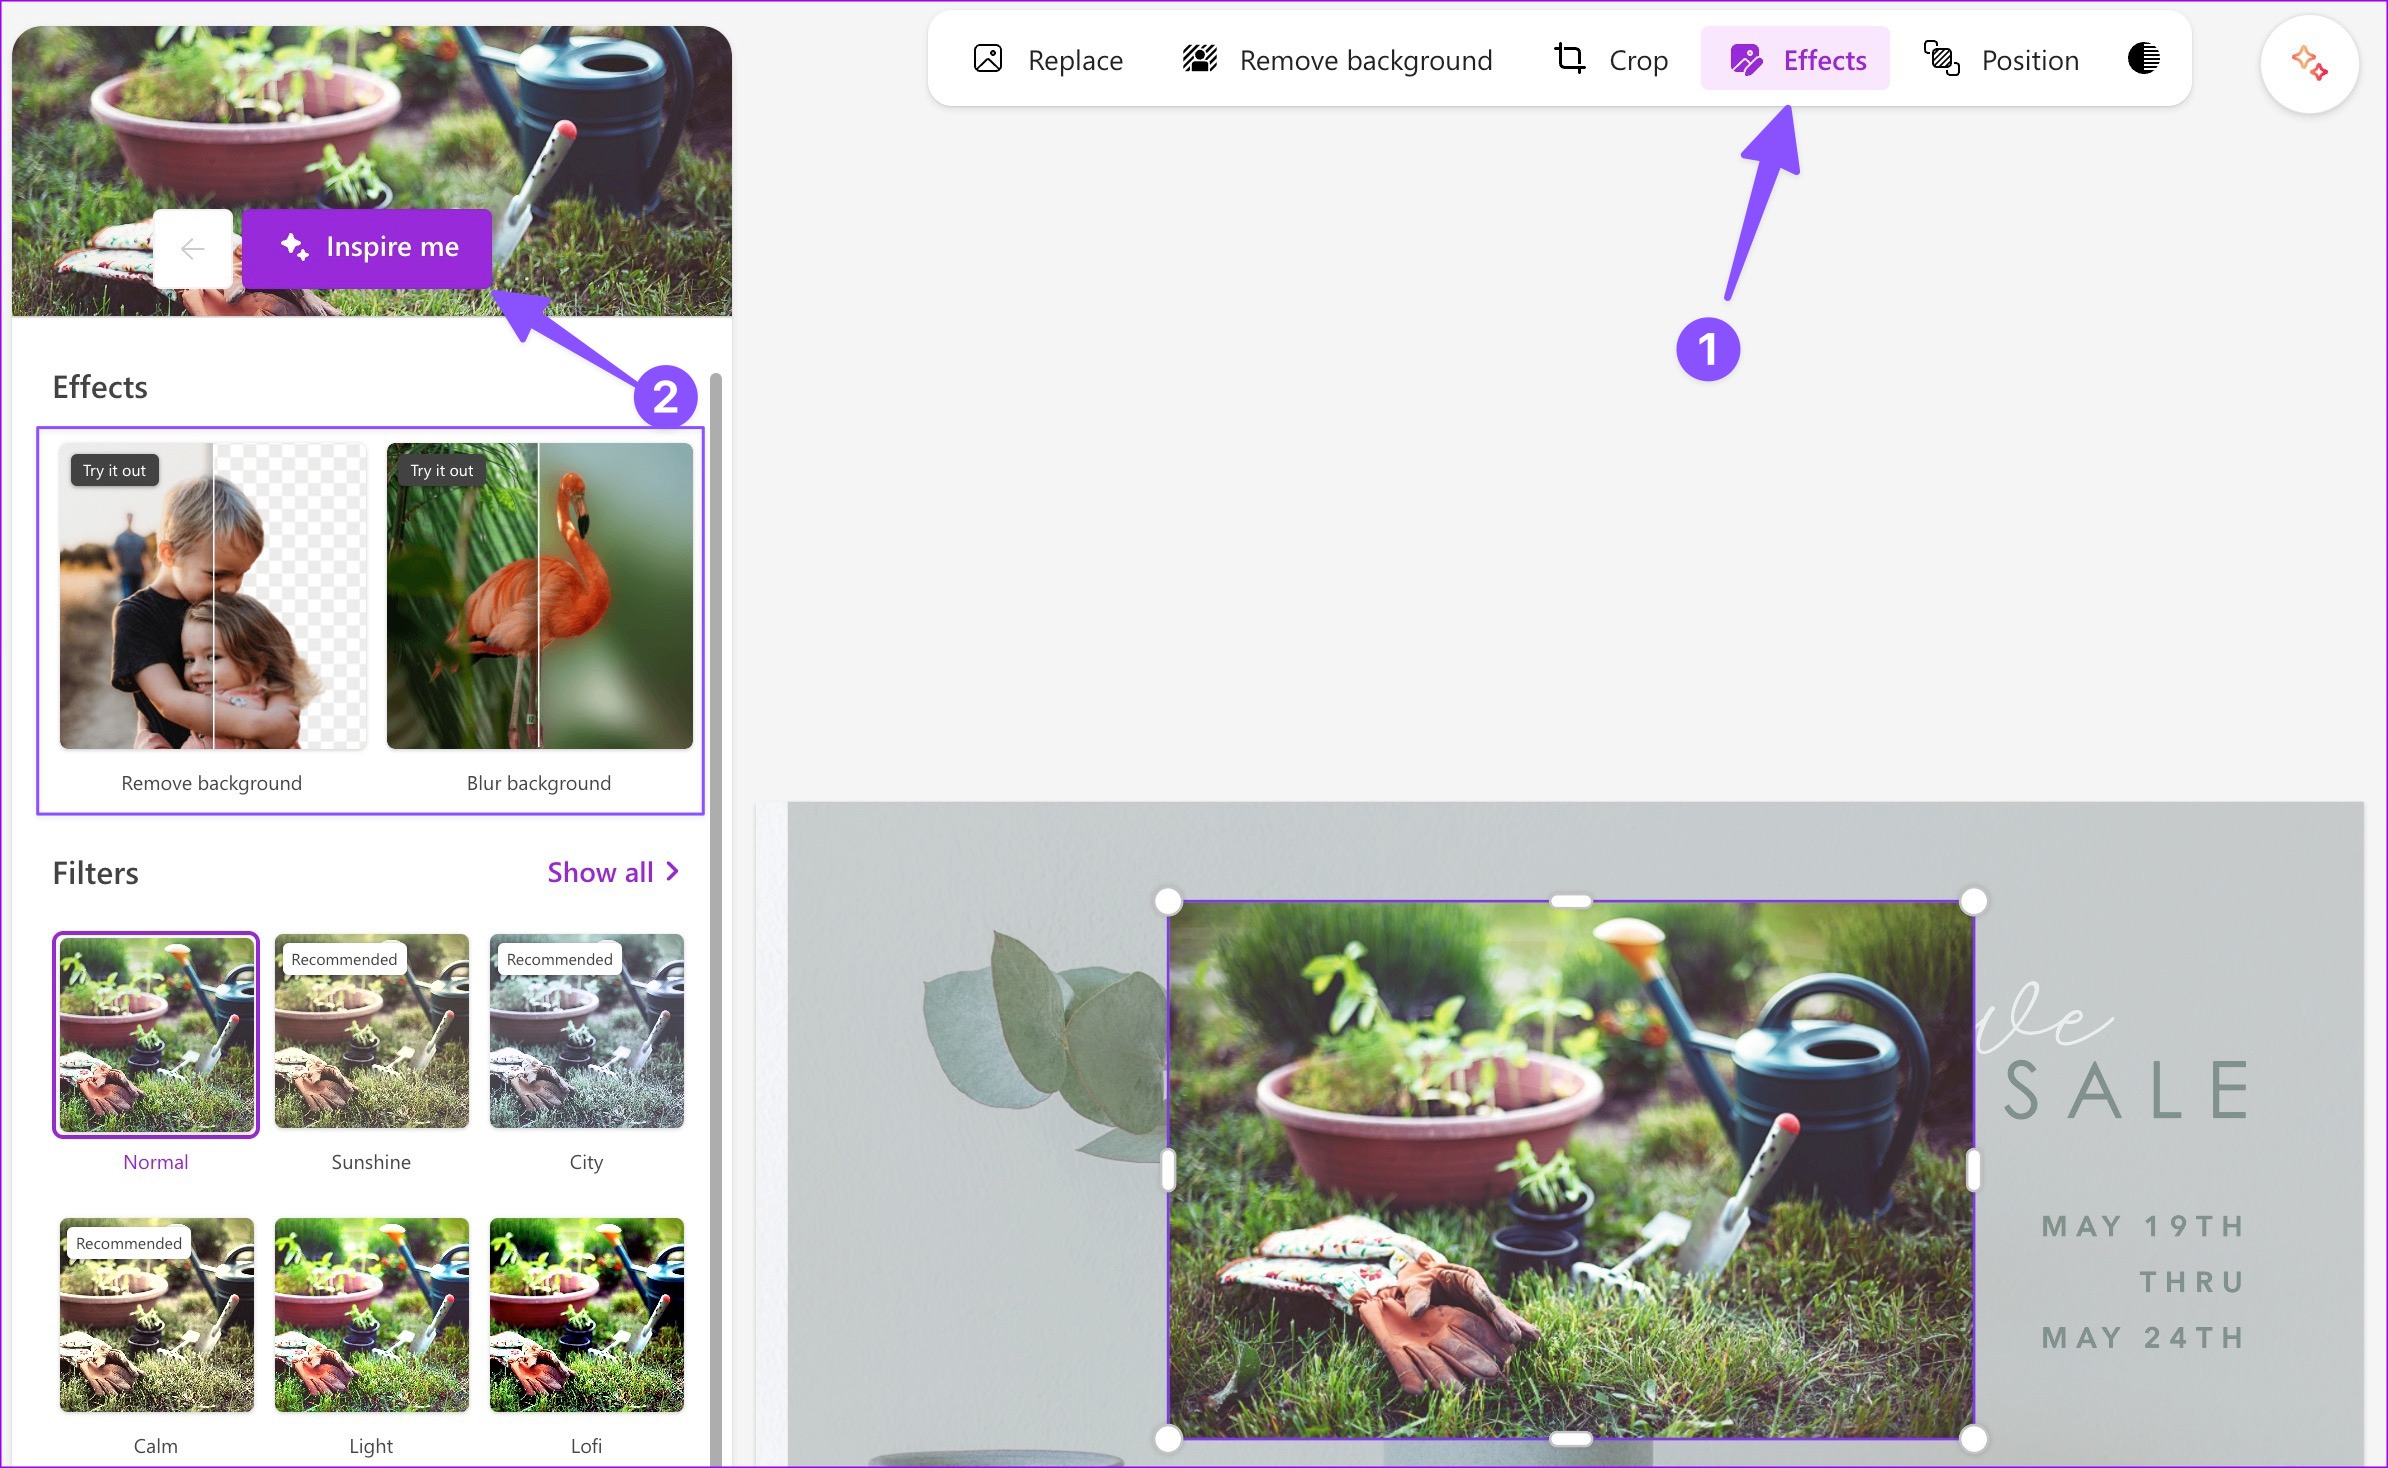
13. Use the Inspire Me Button
Instead of endlessly tweaking a picture, you can click the Effects button at the top and hit Inspire Me to let the AI do some magic to it. It automatically adjusts the relevant options and tweaks how the image looks.
14. Connect Your Social Media Accounts
You can post your designs to multiple social media accounts in one click. After making all the relevant tweaks and changes, hit the Download button at the top and link your LinkedIn, Instagram Business, and Facebook page to it.
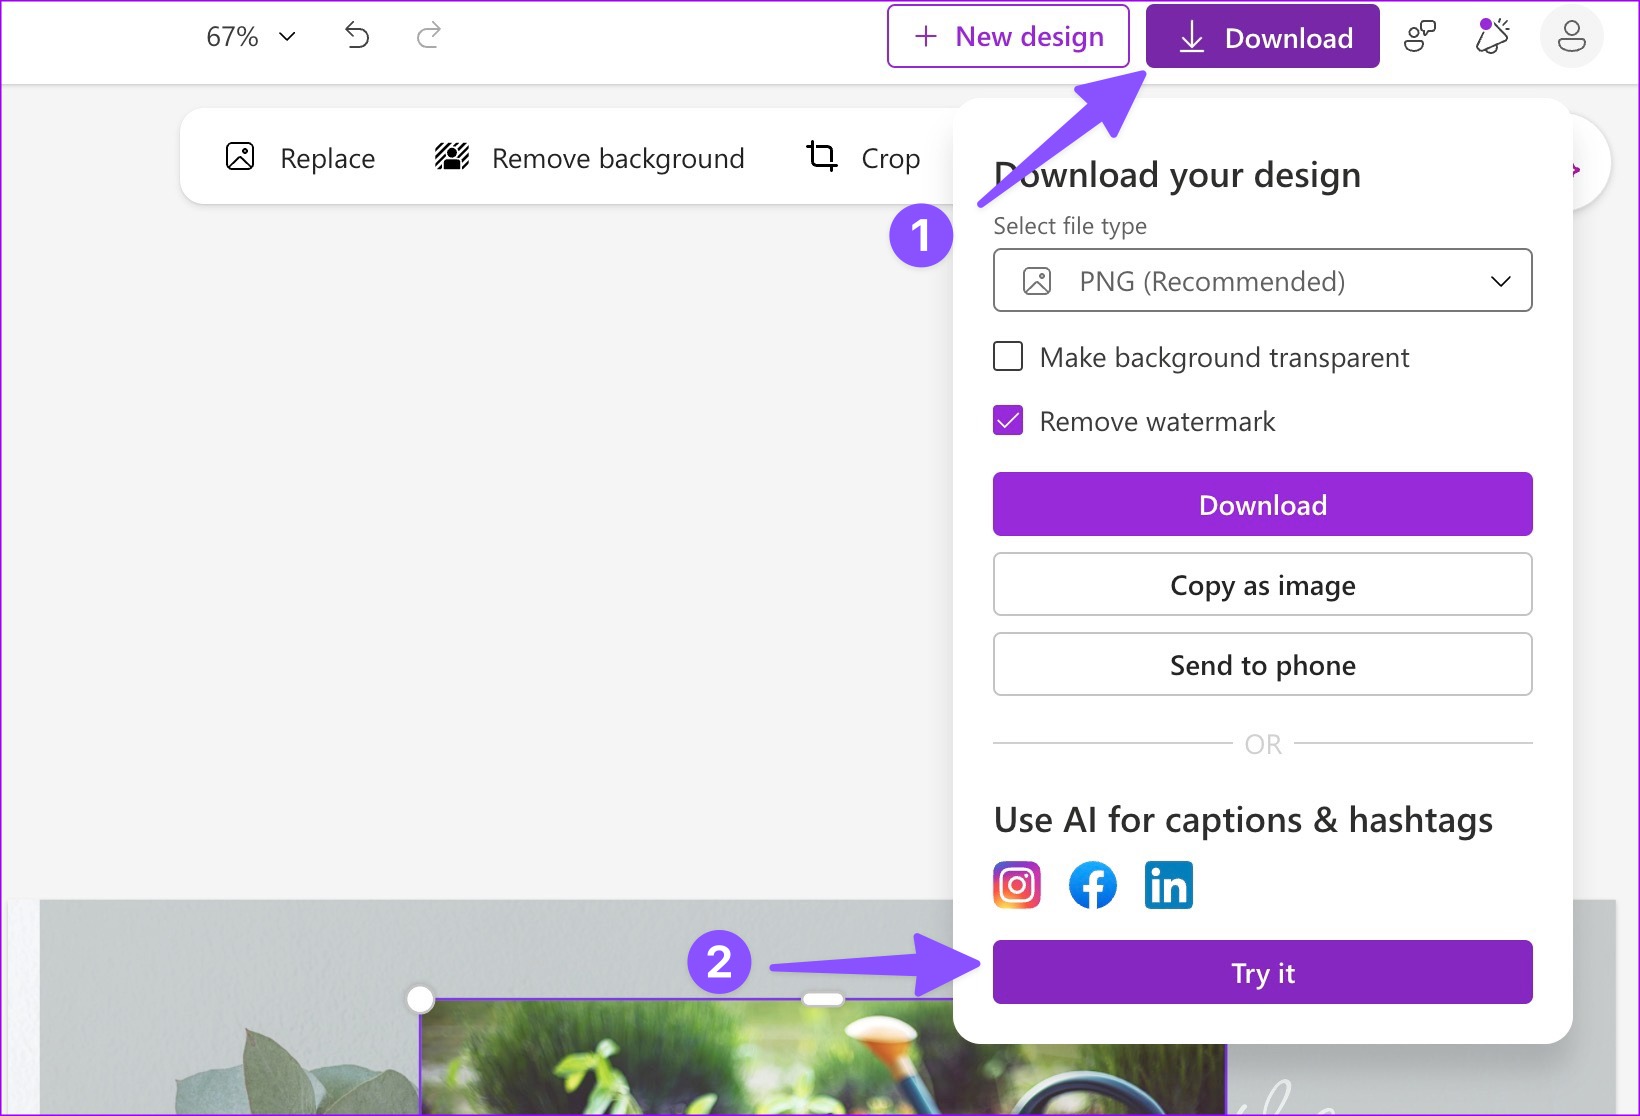
15. Send Your Design to Phone
You can easily send your design from the desktop to the phone. Here’s how.
Step 1: After your design is ready, click Download at the top-right corner.

Step 2: Select Send to phone . Microsoft Designer generates a QR code.
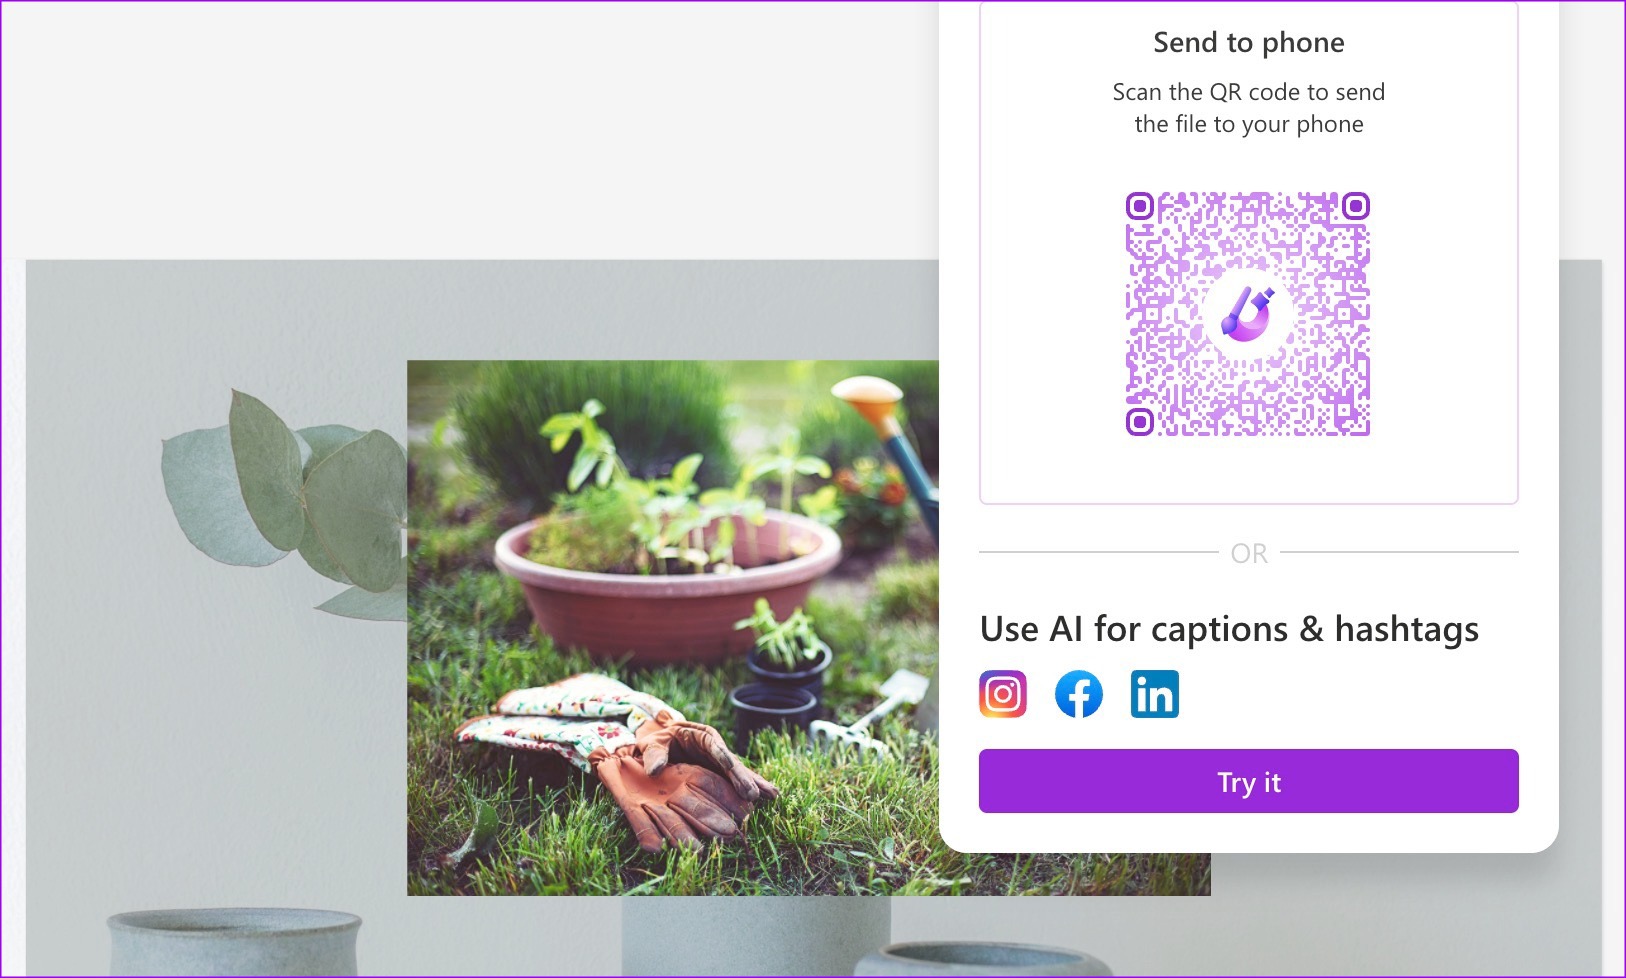
You can use your iPhone or Android phone to scan the QR code and receive the file.
