- You can access your notes directly through iCloud.com in any web browser. Sign in with your Apple ID; your notes will await you.
- For quicker access, convert the iCloud web app into a Progressive Web App (PWA) on your Windows desktop for a more app-like experience.
Method 1: Use the Notes Web App
Note : You can’t view or edit any notes within the Notes app’s ‘On My iPhone’ folder. If you still want to access them, you must move the notes to a folder in the iCloud section of the Notes app.
Step 1 : Go to iCloud , log in with your Apple ID credentials, and sign in to your account.
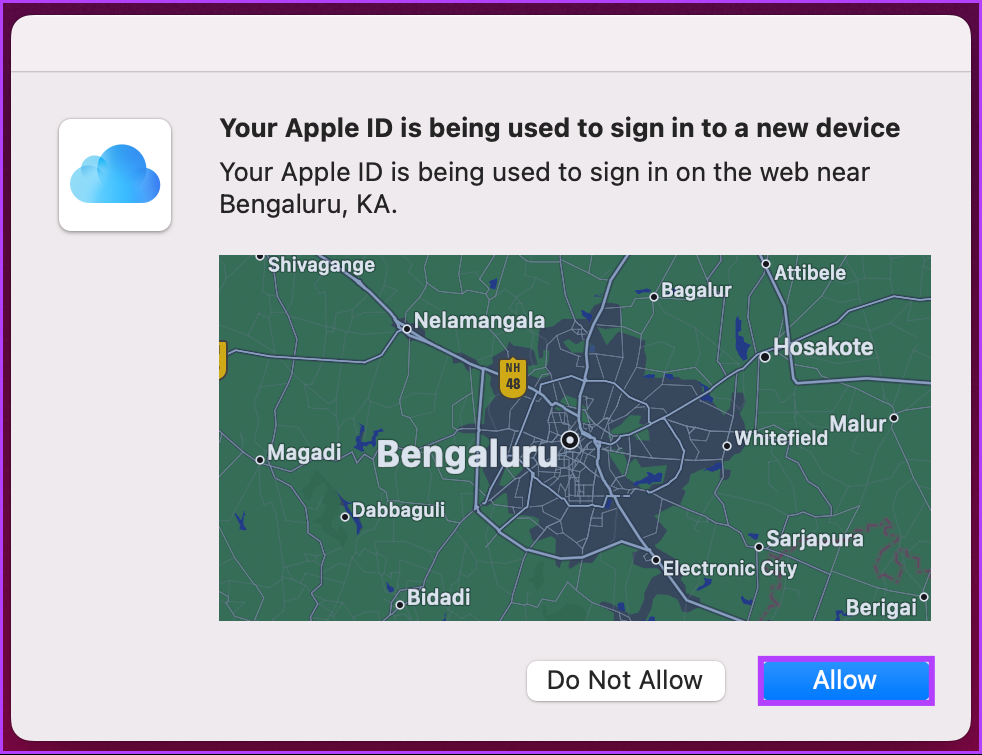
Step 2 : A pop-up will appear on your other Apple device (iPhone, Mac, or iPad) that says, ‘Your Apple ID is being used to sign into a new device.’ Click Allow .
Step 3 : Once you do, you will get a verification code that you will need to enter into your Windows PC, where you want to access Apple Notes.
Step 4 : On the next screen, you will be asked if you ‘Trust this browser?’. Click on Trust .
Step 5 : You will land on your iCloud account. From here, click on Notes .

That’s about it. You have access to your Apple Notes. You can read your notes, edit them, create new notes, and add or rename folders. However, the Notes web app does not allow you to archive or lock notes.
If you can’t see your notes, go to your iPhone’s settings > Apple ID > tap on iCloud > toggle on the switch next to Notes.
Method 2: Create a Progressive Web App (PWA) for Apple Notes
Step 1 : Go to iCloud . Log in with your Apple ID credentials and sign in to your account.
Step 2 : You will get a pop-up on your other Apple device. Click Allow .
Step 3 : Once you do, you will get a verification code that you must enter into your Windows PC, where you want to access Apple Notes.
Step 4 : On the next screen, you will be asked if you ‘Trust this browser?’ click Trust .
Step 5 : You will land on your iCloud account. From here, click on Notes .
Step 6 : After the Notes web app finishes loading, click on the three-dot Chrome menu at the top right corner.
Step 7 : From the drop-down, click on More Tools > choose Create Shortcut .

Step 8 : In the Create shortcut? prompt, name the web app > check the box next to Open as Window > click Create .
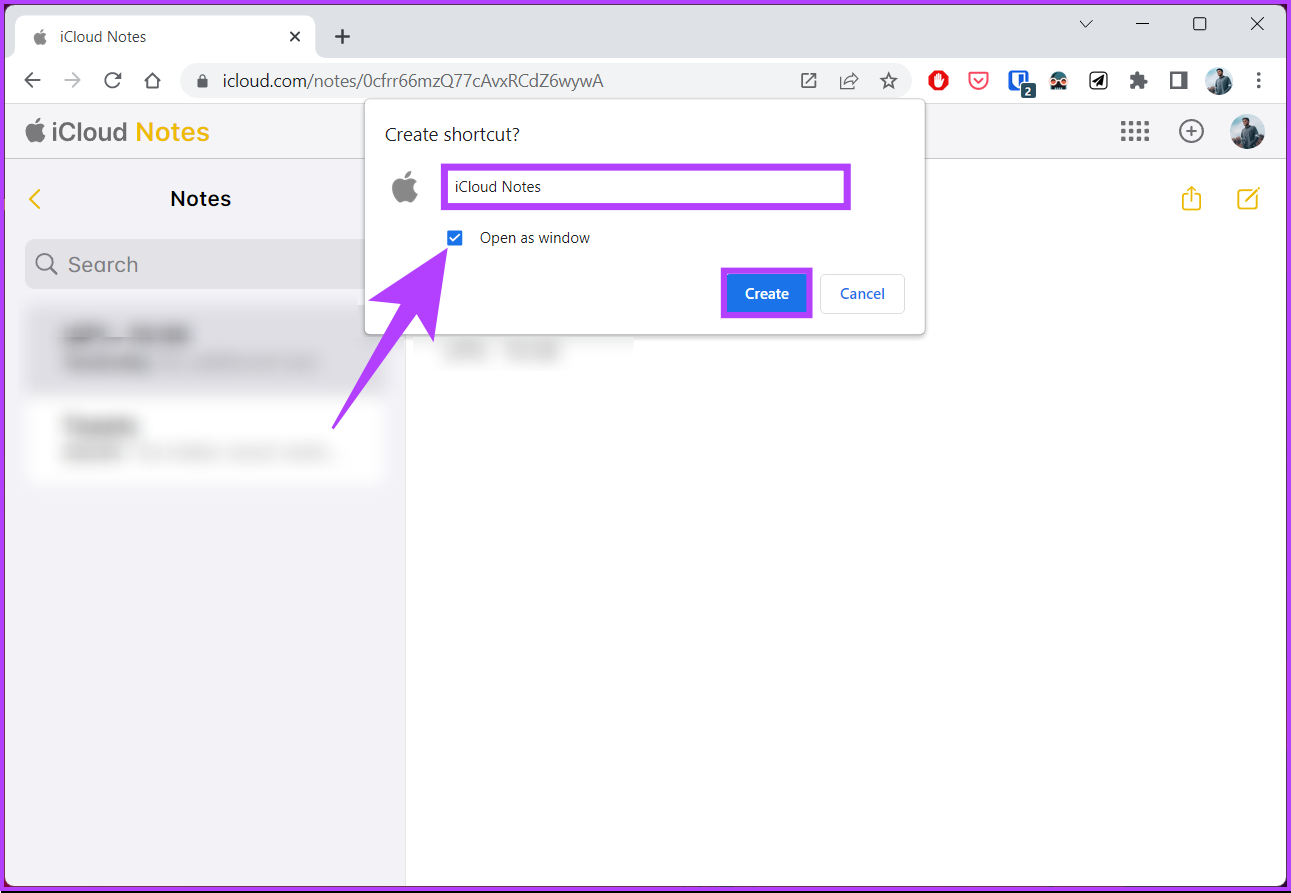
There you go. When you open the Apple Notes shortcut web app, it will open in a dedicated Chrome or Edge window without the address bar and offer an app-like experience. You can view, add, edit, or share notes without issues.
Also Read : How to sync Apple Notes with OneNote
Method 3: Sync Apple Notes to Gmail
If you have a Google account added to your iPhone , syncing the Apple Notes app on Gmail is possible. However, the catch is that only new notes you create within the Gmail folder on your iPhone’s Notes app will sync, not your old notes or the notes in other folders.
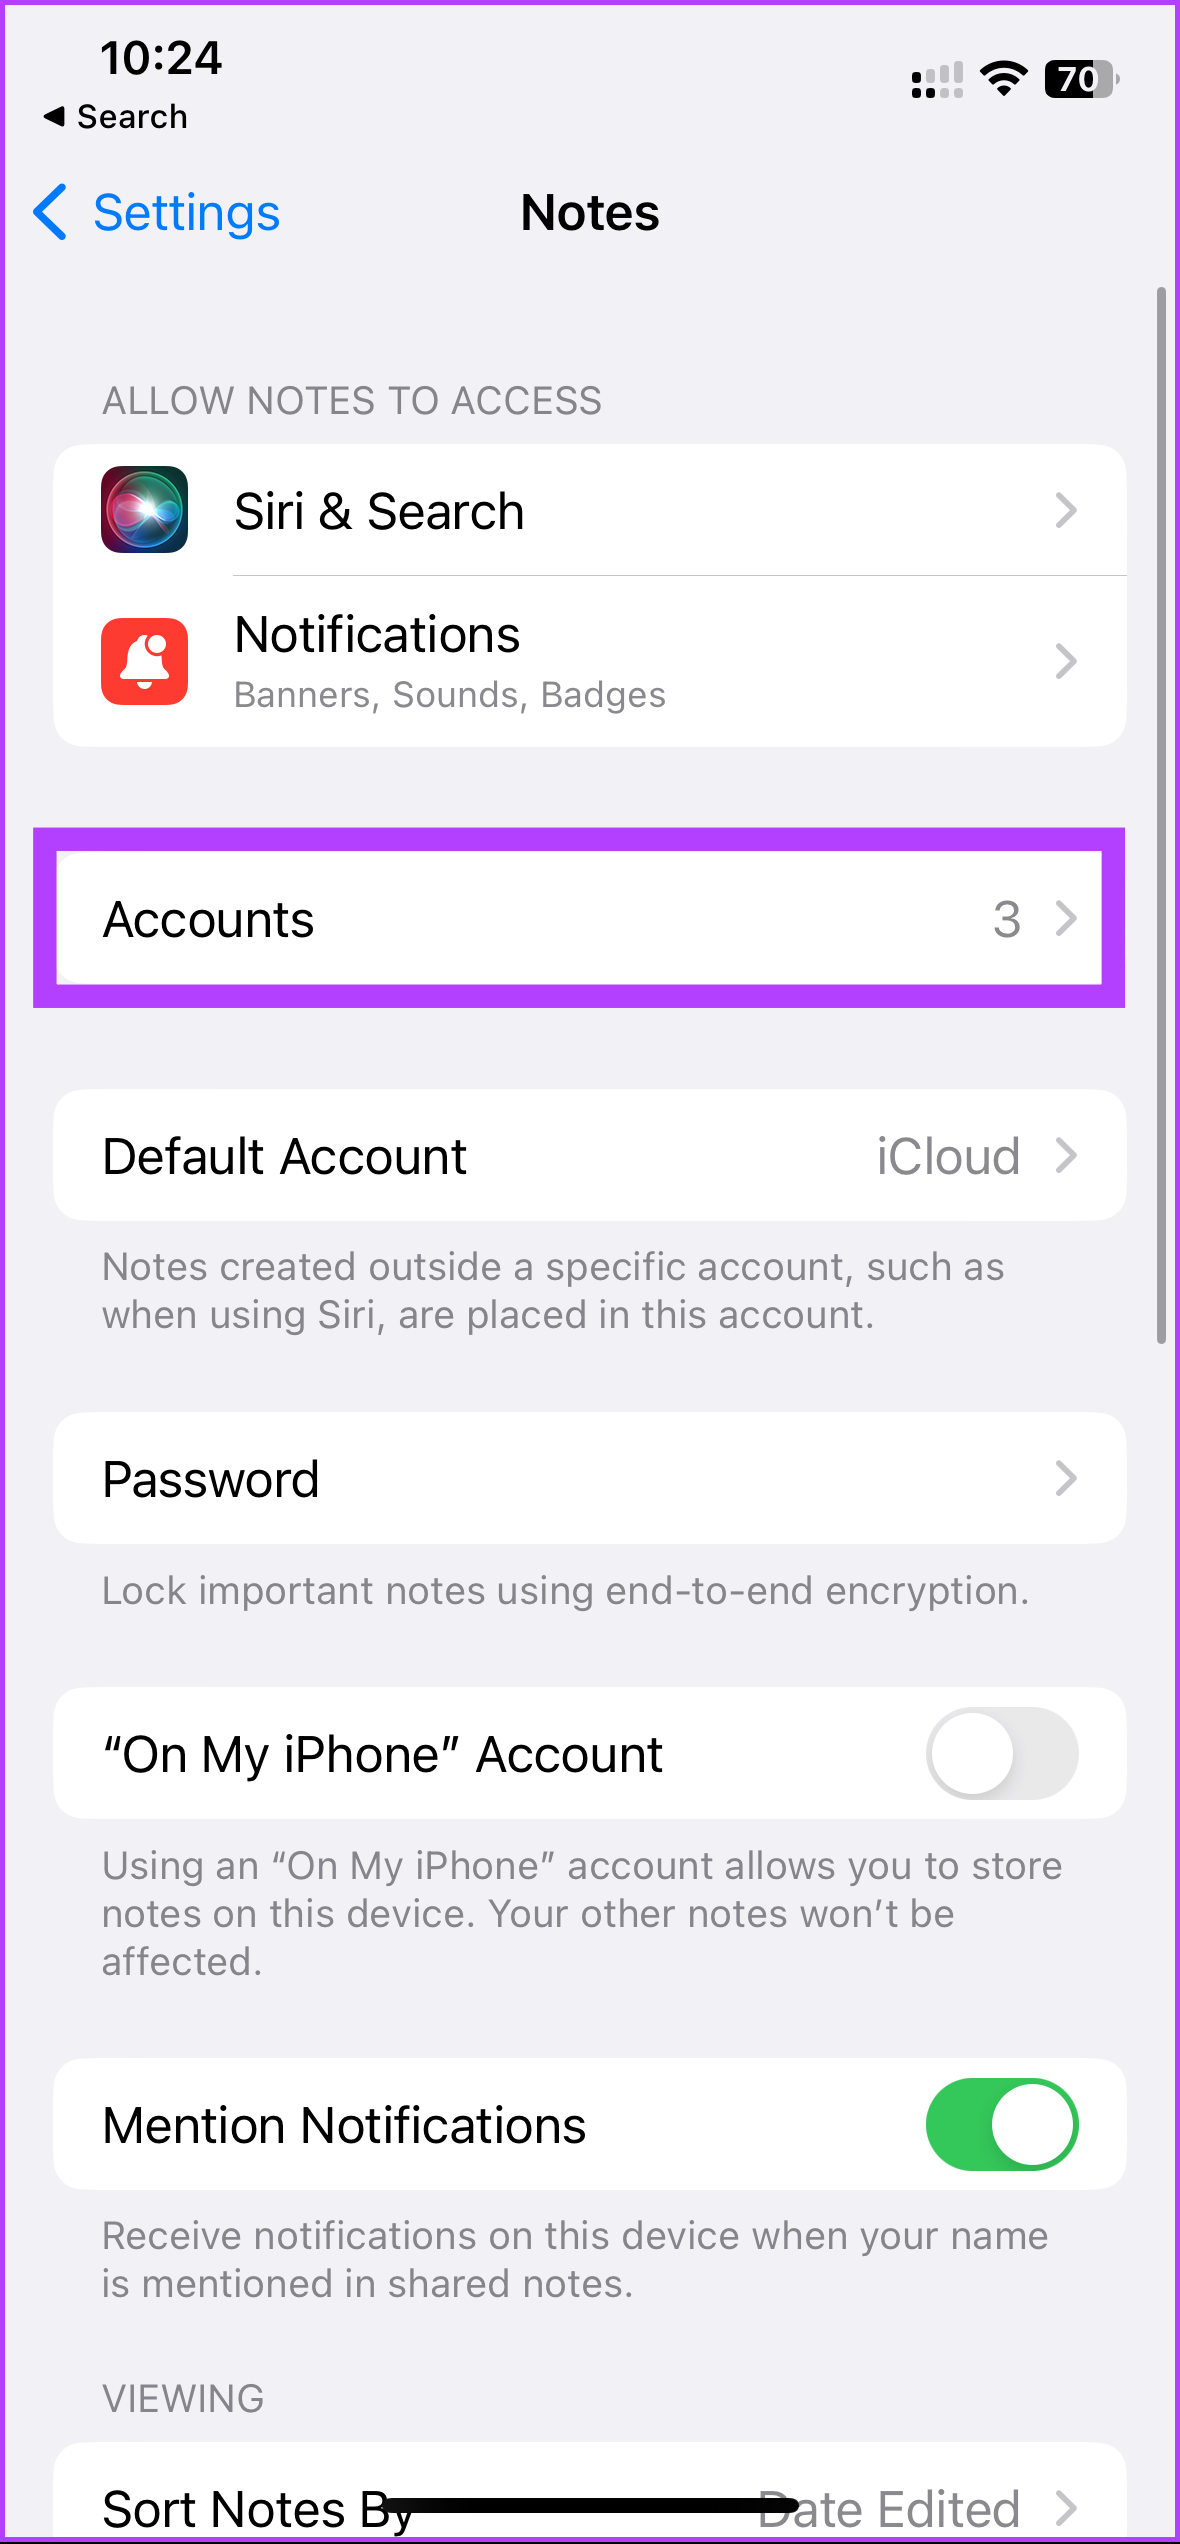
Step 1 : Go to the Settings app on your iPhone > scroll down and tap on Notes .
Step 2 : Under Notes, tap on Accounts > tap on the Gmail account to which you want to sync your notes.
Step 3 : Under Gmail account settings, toggle on the button next to Notes.
Once you do the above steps, you will see a separate Notes folder under the Gmail header in the Notes app. Any note you create within it is accessible via the Gmail web app on your PC.
Step 4 : Go to Gmail from your preferred browser on your Windows or Mac computer.
Step 5 : Under Label, select Notes to view your synced Apple Notes.
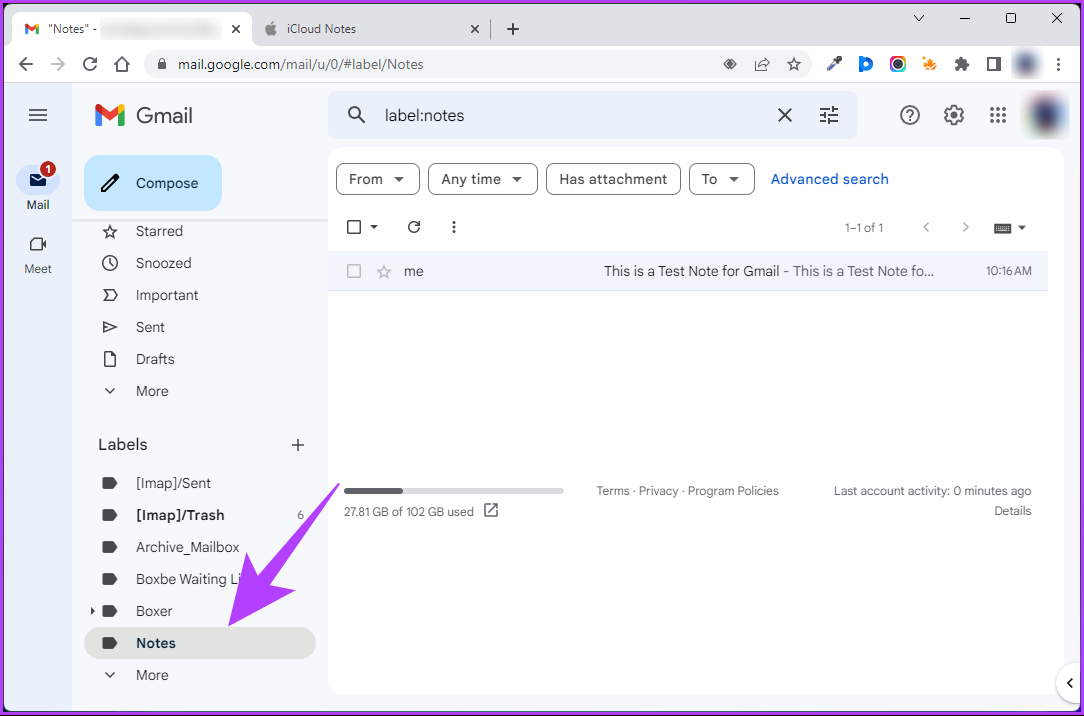
Note that Gmail does not allow you to edit these notes through its web app. You can only do that on your iPhone; check our detailed guide to view iPhone notes in Gmail .
Apple Notes is not officially available for Windows as it is a native app of the Apple ecosystem. However, this article mentions different ways to access Apple Notes on Windows.
Yes, you can. In fact, we have a dedicated guide to help you save Apple Notes as a PDF on your iPhone, iPad, or Mac.
The Notes app on the iPhone stores the notes in a database file stored locally. The exact location of the file may vary depending on the version of iOS and the device you are using. However, the Notes data is generally stored in the “Notes” folder of the device’s internal storage.
Was this helpful?
- Troubleshoot your HP printer from Windows 11 settings > Bluetooth & devices > Printers & scanners.
- Restart the Print Spooler and Printer Extensions and Notifications services manually from the Windows Services app.
Basic Fixes
- Check the printer cable : Ensure the connected cable isn’t loose. If it has major cuts on either end, grab a replacement cable.
- Connect your wireless printer and PC to the same network: If you have an HP printer with in-built Wi-Fi, connect it to the same network as your PC. If it fails to connect, restore the printer’s Wi-Fi setup mode .
- Use the HP Smart app : Install the HP Smart app from the Microsoft Store and follow its on-screen instructions to pair the HP printer to your Windows 11 PC.
- Download Optional Windows Update : Press the Windows + I shortcut to open the Settings app, select Windows Update from the sidebar, and click Advanced options. Select Optional updates and click Download & install.
- Update Windows 11 : Open the Settings app , select Windows Update from the left sidebar, and install available system updates.
Fix 1: Use Windows Settings to Troubleshoot the HP Printer
Windows 11 comes with an in-built troubleshooter to fix HP printer issues. Here’s how to access and use it:
Step 1: Press the Windows + I shortcut to open the Settings app, select Bluetooth & devices from the left sidebar, and click Printers & scanners .
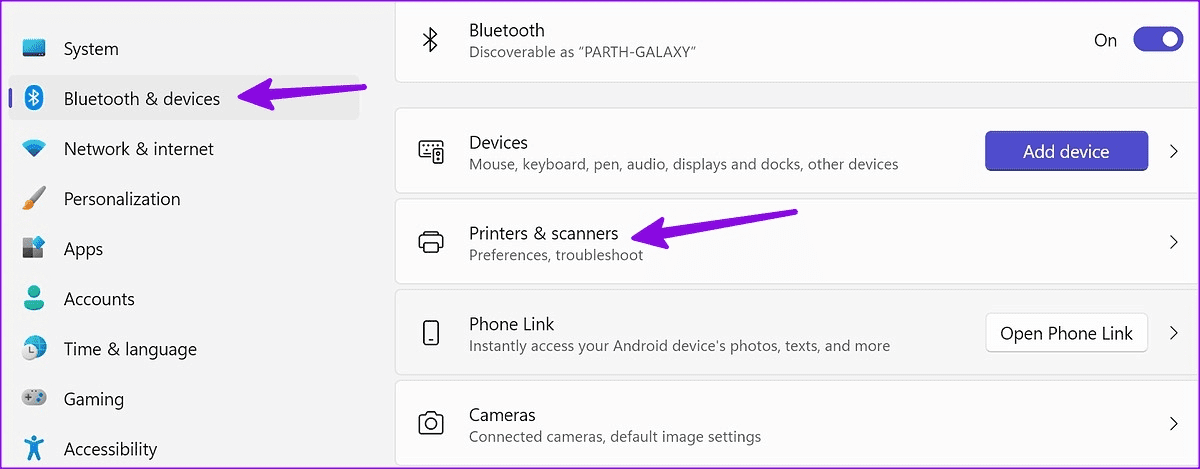
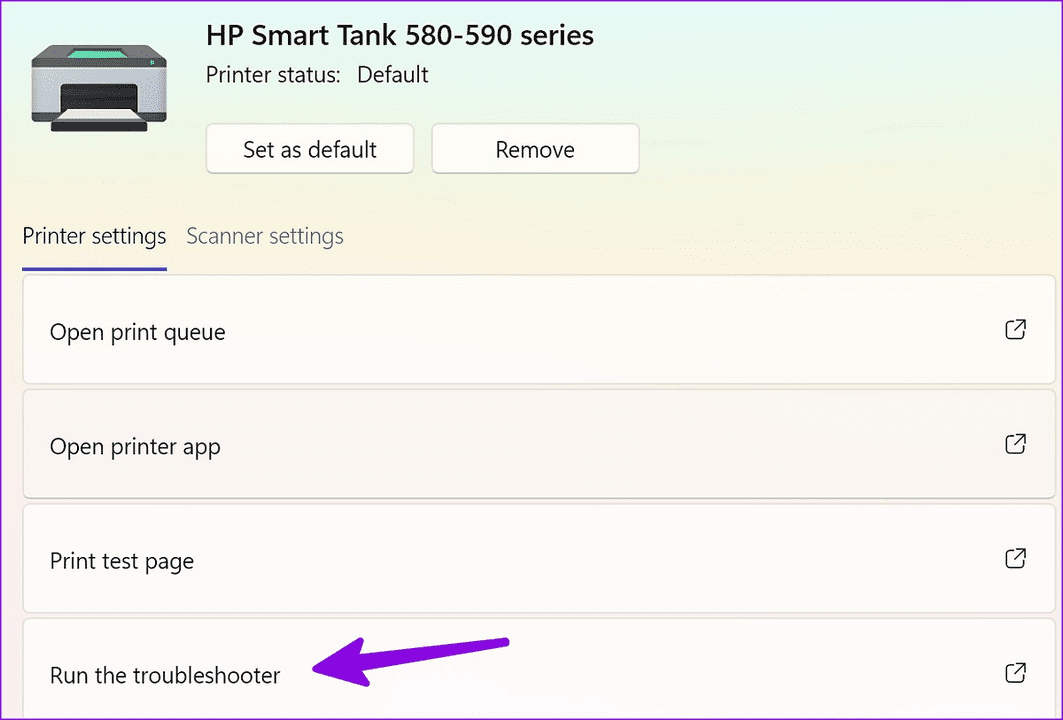
Step 2: Scroll down and select your HP printer .

Step 3: Click Run the troubleshooter and follow the on-screen instructions to fix it.
Fix 2: Fix the HP Printer Using the HP Smart App
If the Windows troubleshooter doesn’t help, use the HP Smart App to diagnose and troubleshoot the HP printer that is not working on Windows 11.
Step 1: Install the HP Smart App from the Microsoft Store and follow its on-screen instructions to set up your printer.
Step 2: Select the hamburger menu from the top left and click Diagnose & Fix .

Step 3: Click Start and wait a few seconds to let the app troubleshoot your HP printer issue.

Fix 3: Update or Reinstall HP Printer Drivers
An obsolete printer driver is a common underlying cause of HP printers not working on Windows 11. Use the Device Manager app to update or reinstall it.
Step 1: Press the Windows key, search Device Manager , and click to open it.
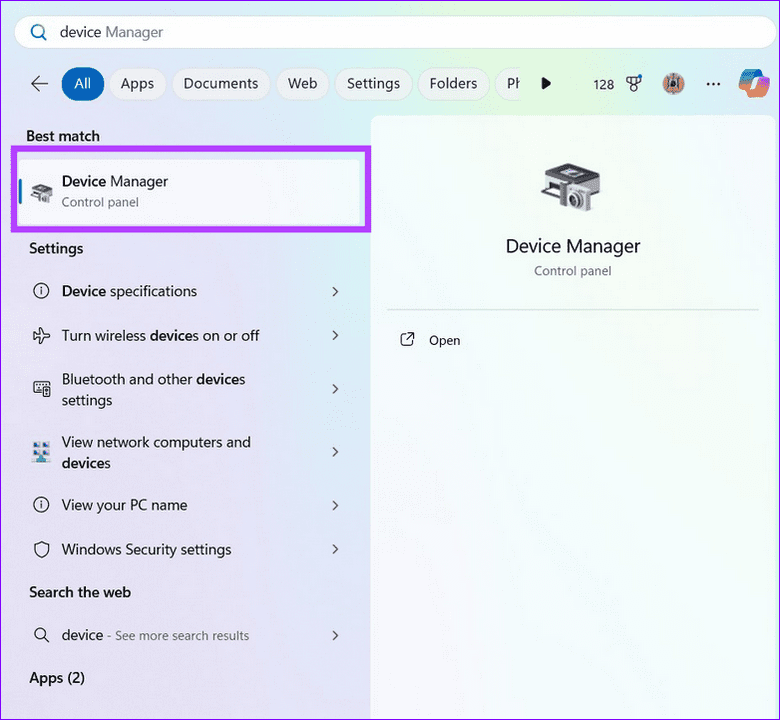
Step 2: Expand Printers , select your HP printer , and right-click to Update driver . If it doesn’t resolve the issue, select Uninstall device , and restart PC to automatically install compatible drivers.

Fix 4: Restart the HP Printer Services
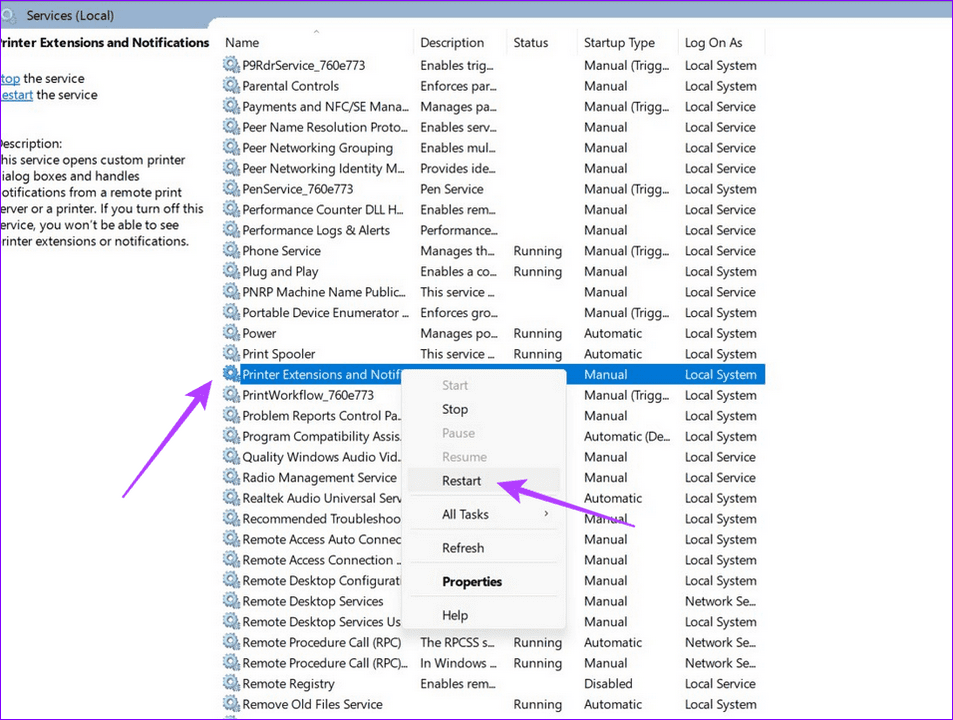
The Print Spooler and Printer Extensions and Notifications services control the functioning of the connected printer on Windows 11. If they stop abruptly , your HP printer might not work. Use the Services app to restart them manually.
Step 1: Press the Windows key, search Services , and click Run as administrator .

Step 2: Locate Print Spooler , right-click the service , and select Restart .

Step 3: Finally, right-click the Printer Extensions and Notifications service to restart it.