Voice communication is important in multiplayer games like Valorant, enable you to effectively communicate and strategize your next move. However, it can be frustrating when the voice chat feature stops working on Valorant. This issue can arise for various reasons, including a lack of administrative privileges and misconfigured Windows settings.
If you can’t hear team voice chat in Valorant, this is the place where you need to be. We’ll explore different ways to fix Valorant voice chat or mic not working on Windows 11. So, let’s begin.
1. Launch Valorant With Administrative Rights
Multiplayer games like Valorant require administrative permissions to function properly on a Windows computer. When you don’t provide these permissions, the game can encounter various issues.
So, launch Valorant with administrative permissions and check if it solves the issue. Here’s how to do that:
Step 1: Press the Windows key to open the Start Menu.
Step 2: Type Valorant in the search bar and choose ‘Run as administrator’ from the right pane.
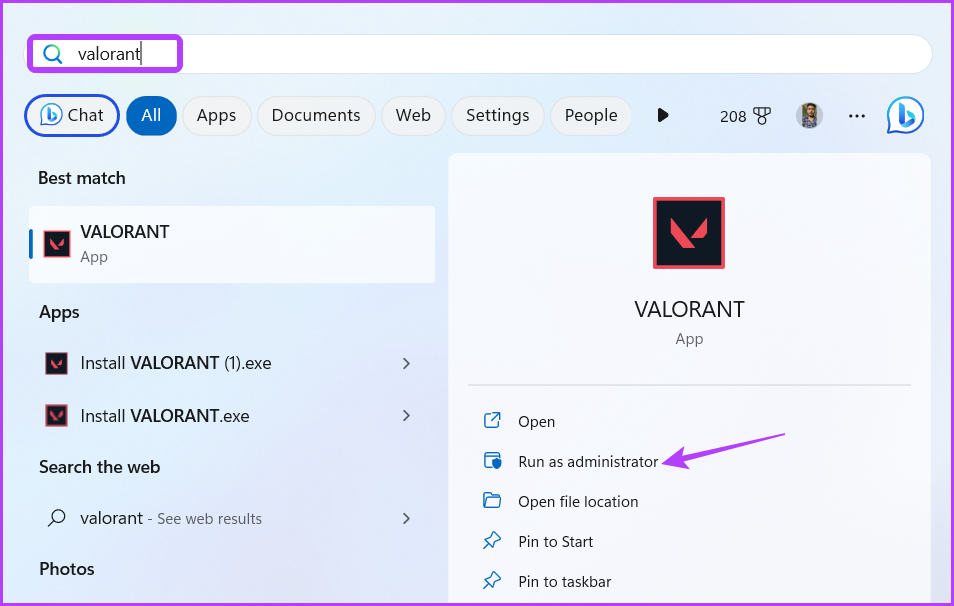
Valorant will now open with administrator rights. Check if you can use the voice chat feature. If not, try the next solution on the list.
2. Allow Valorant to Access Your Microphone
In Windows, you have can manually configure which apps have access to the computer’s microphone. If you have no Valorant permission to use the computer’s microphone, the voice chat feature in the game will not work.
You’ll have to allow Valorant to access the microphone to solve the issue. Here’s how to do that:
Step 1: Press Windows + I keyboard shortcut to launch the Settings app.
Step 2: Choose ‘Privacy & security’ from the left sidebar and then click the Microphone option in the right pane.
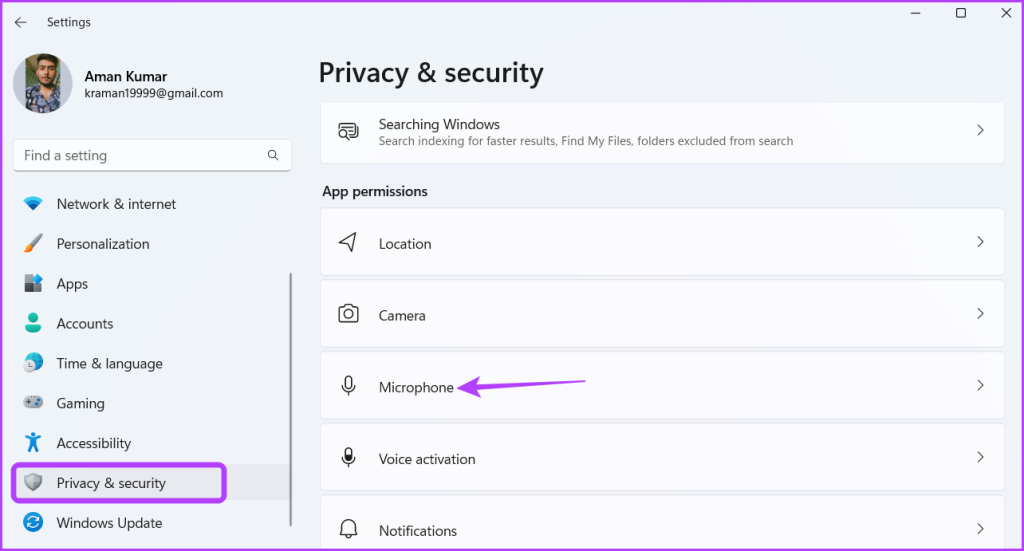
Step 3: Enable the toggle next to ‘Let apps access your microphone.’
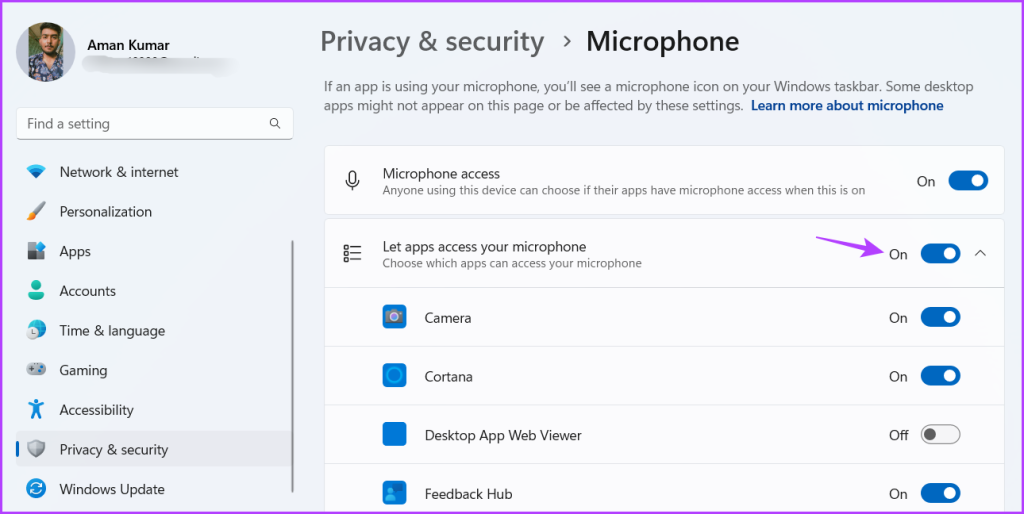
After that, restart your computer and check if the problem continues.
3. Change Valorant Audio Settings
A major reason why Valorant voice chat or mic is not working can be misconfigured audio settings. To resolve this issue, make the following changes in the Valorant audio settings:
Step 1: Press the Windows key to open the Start Menu, type Valorant and choose ‘Run as administrator’ from the right pane.
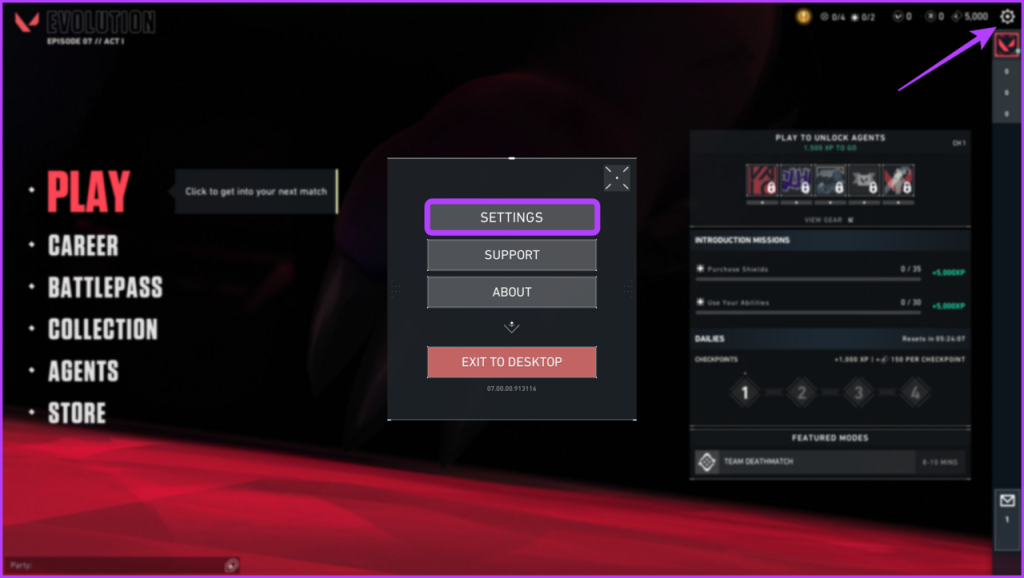
Step 2: Click the Gear icon at the top-right corner. Then, choose Settings from the menu that crops up.
Step 3: Switch to the Audio tab.
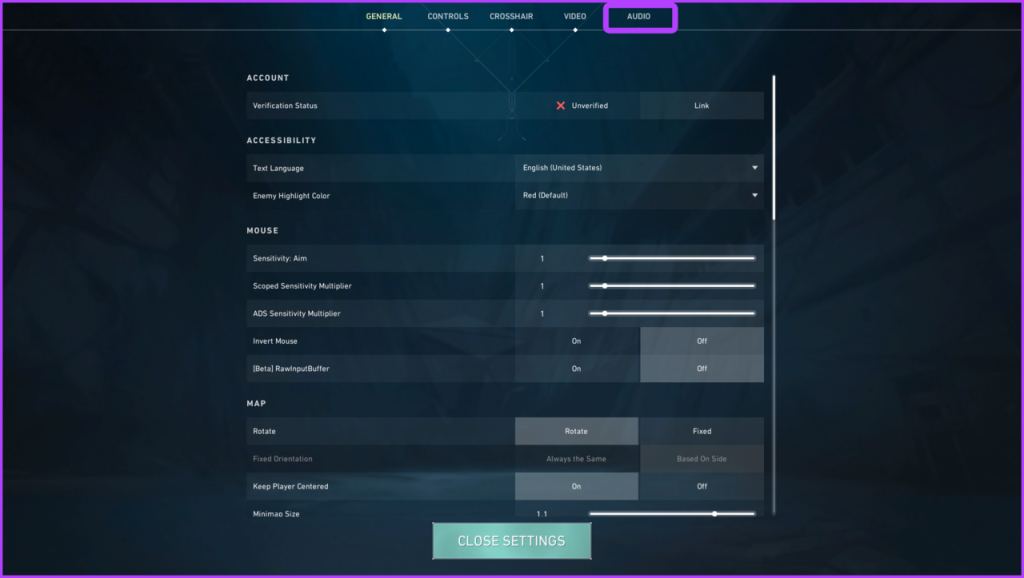
Step 4: Click on Voice Chat. Then, select your default input device from the Input Device drop-down menu.

Step 5: Enable the ‘Party Voice Chat,’ ‘Party Voice During Custom Game,’ and ‘Team Voice Chat’ options.

After that, restart the game to check for the issue.
4. Allow Valorant to Run Through Windows Firewall
If you still can’t hear the team voice chat in Valorant, ensure Valorant is allowed to run through the Windows Firewall. Here’s how to check that:
Step 1: Press the Windows key to open the Start Menu, type ‘ Allow an app through Windows Firewall ,’ and press Enter.

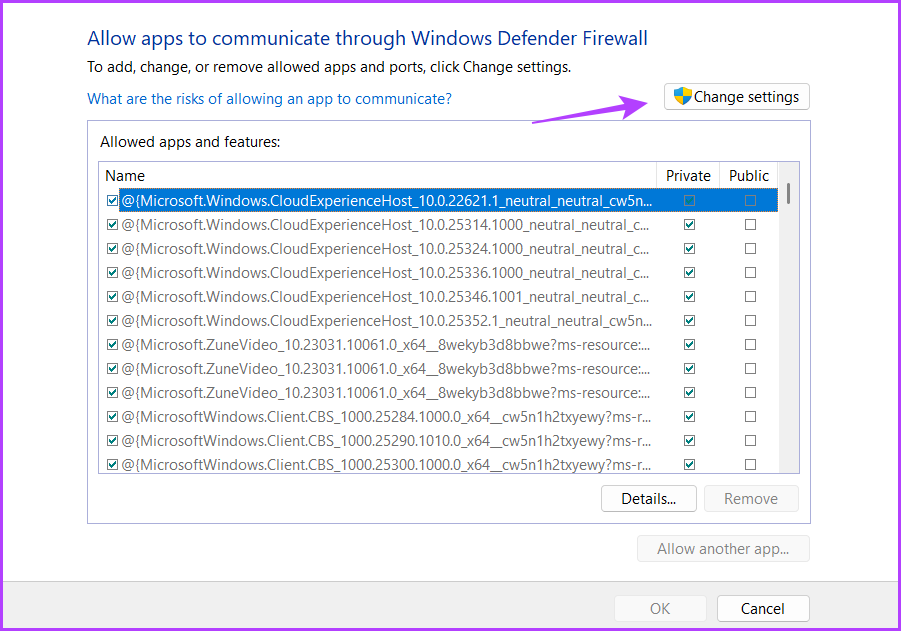
Step 2: Click the Change settings button.
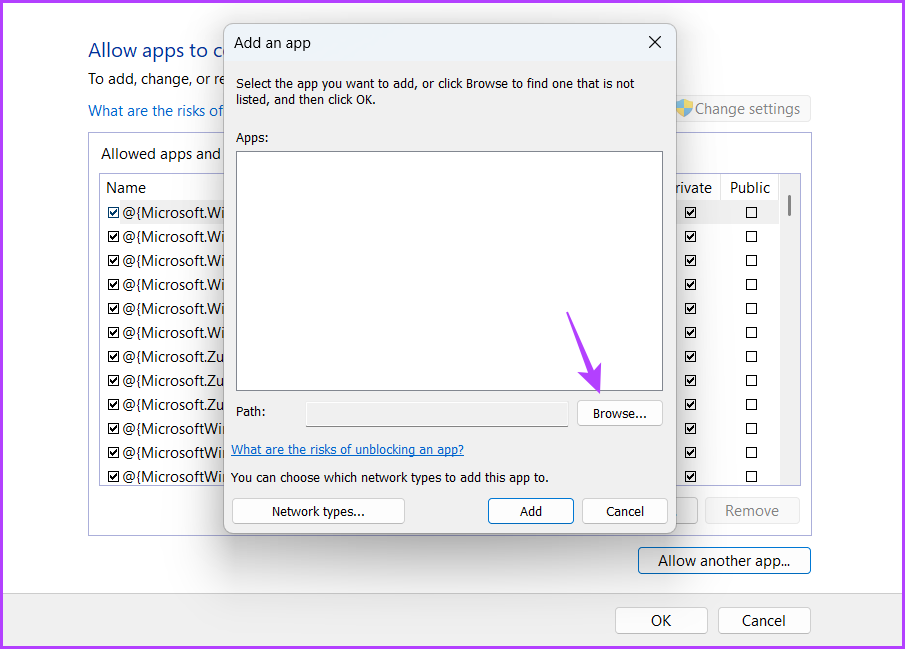
Step 3: Click on the ‘Allow another app’ button.

Step 4: Click Browse.
Step 5: Paste the following address in the File name box and click Open.
C:\Riot Games\VALORANT\live\VALORANT.exe

Step 6: Click Add.
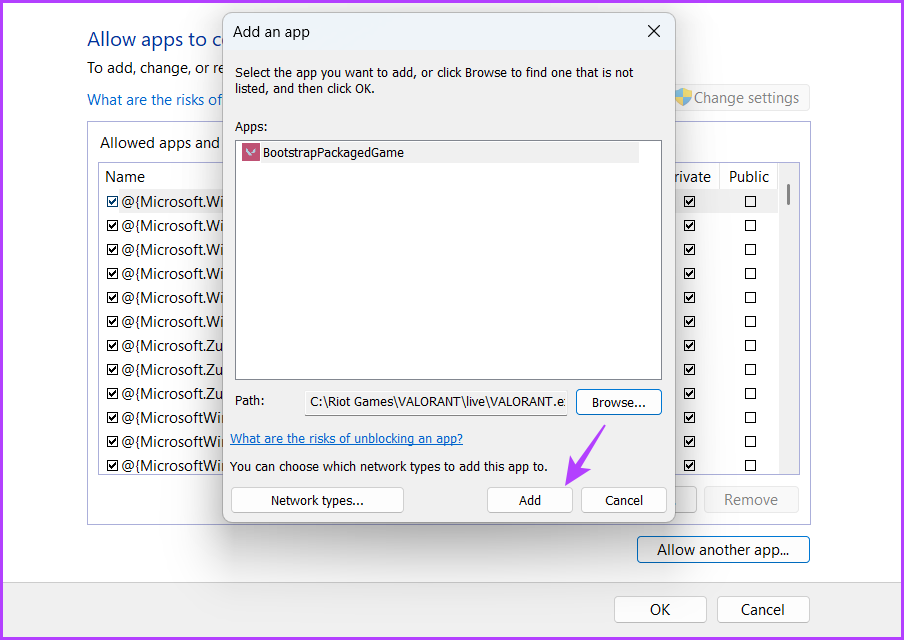
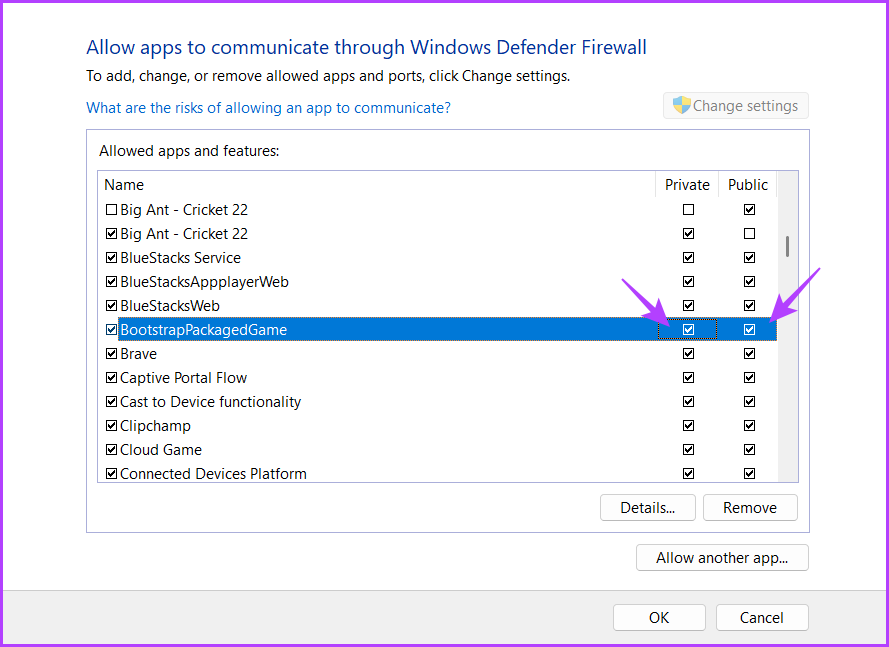
Step 7: Check Private and Public boxes for BootstrapPackedGame.
Step 8: Click ‘Allow another app’ again.
Step 9: Click Browse.
Step 10: Paste the following address in the File name box and then click Open.
C:\Program Files\Riot Vanguard\vgc.exe
Step 11: Click Add.
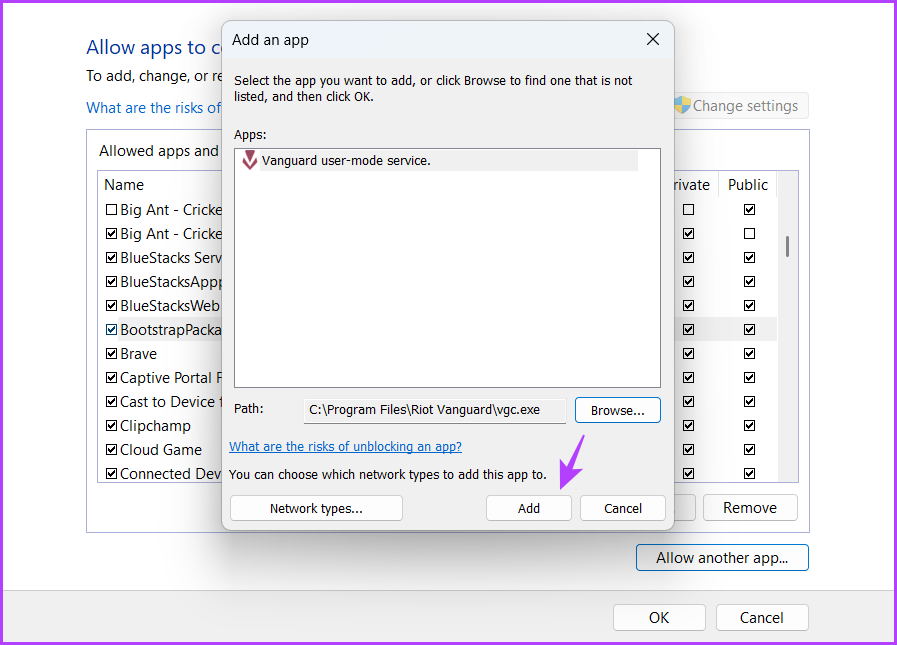
Step 12: Check Private and Public boxes for Vanguard user-mode service.

5. Start the Valorant Game Coordinator Service
The Valorant Game Coordinator (VGC) is a crucial service that needs to run for the voice chat feature to work correctly in Valorant. To check the status of this service and enable it if necessary, follow the steps below:
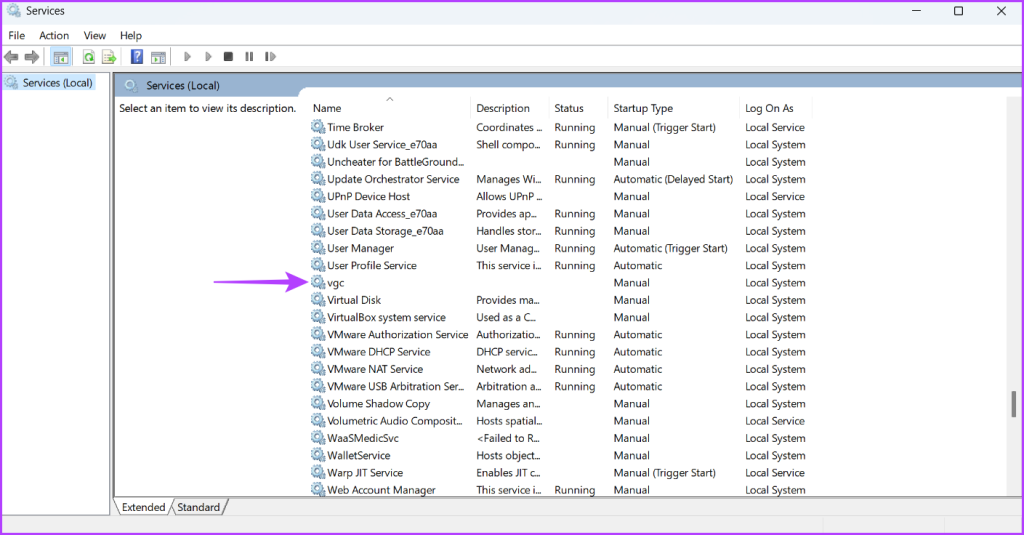
Step 1: Press the Windows key to open the Start Menu, type Services , and press Enter.

Step 2: In the Services window, scroll down to on the vgc service and double-click on it.
Step 3: Choose Automatic from the Startup type drop-down menu.

Step 4: Click the Start button.

Step 5: Click Apply and then OK.
If Services window fails to launch, refer our post on when services is not opening on Windows 11 .
Communicate Seamlessly In Valorant
Excelling on the battlefield isn’t just accurate aim and fast reflex. You must regularly coordinate with your teammates to win the battle. However, it is only possible if the Valorant voice chat or mic is not works. Luckily, you can quickly troubleshoot this issue using the above solutions.
Was this helpful?
Basic Fixes
- Restart MS Word: If Word is not printing a document or takes forever to do so, try restarting the app. This will refresh the app and may get rid of the bug that was affecting it.
- Restart Printer: If there’s a connectivity issue with your PC, restarting your printer may help. This establishes a fresh bridge between your PC and the printer.
- Check network connection for wireless printing: If you’re using a wireless printer, ensure you’re not facing any issues with your internet.
- Run one print job at a time: Ensure you have one active printing job at a time. Trying to print multiple documents at once can deplete available memory and CPU for MS Word.
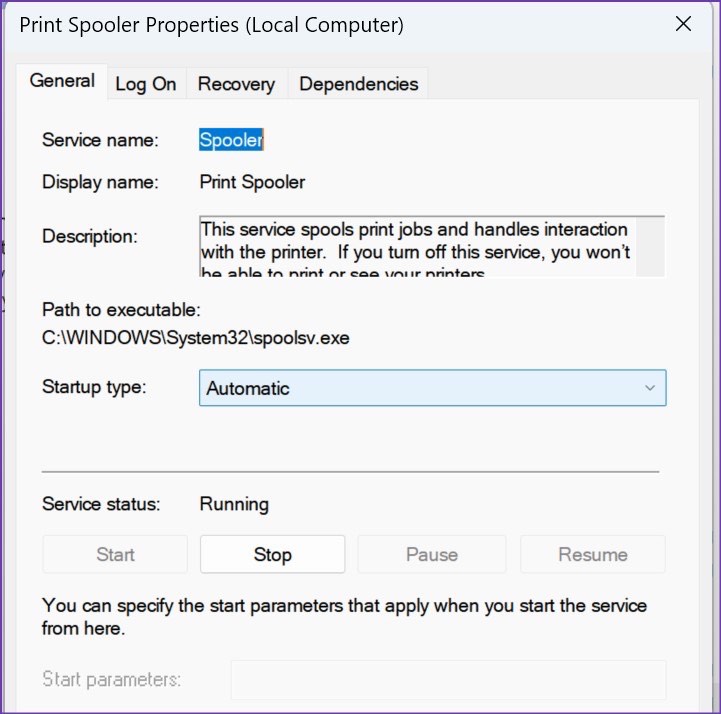
Fix 1: Restart Printer Spool Service
The print spooler, a Windows service managing print jobs, can face problems such as corrupted jobs or errors, affecting printing. Restarting the spooler clears stuck print jobs, enabling new ones to proceed, and resets the spooler, eliminating temporary issues.
Step 1: Press the Windows + R keys to open the Run menu. Type services.msc and hit the Enter key.

Step 2: It will open the Services menu. Scroll down to Print Spooler . Right-click on it and open the Properties from the context menu.

Step 3: Select Automatic from the Startup type menu and ensure it shows the running service status.
Fix 2: Re-Install Printer Drivers
If the drivers installed on your PC are faulty, it may affect printing jobs within apps. Therefore, try reinstalling the printer drivers on your PC. This will install a fresh version of drivers that may be free from bugs or corrupted components.
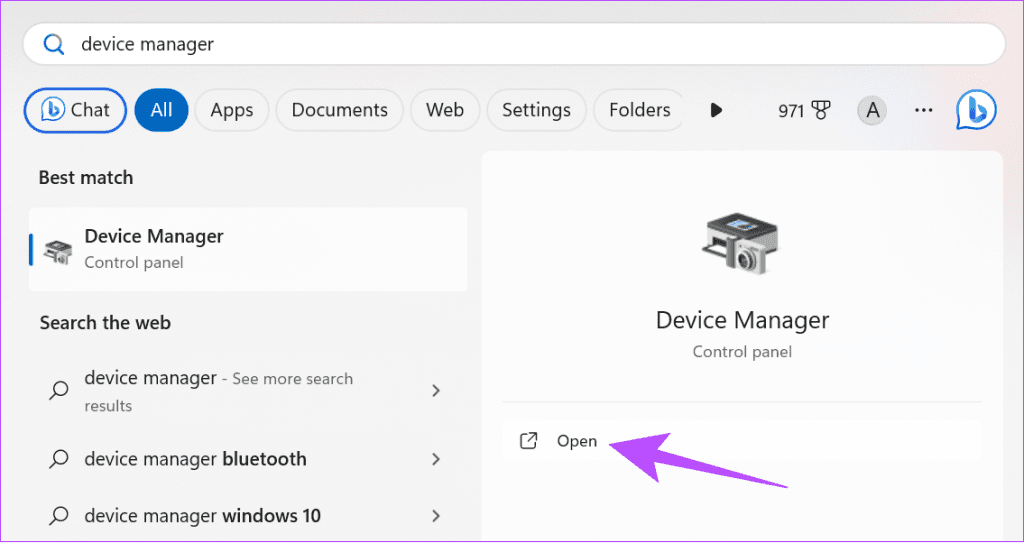
Step 1: Open Device Manager from the Start menu.
Step 2: Expand Print queues . Right-click on your printer from the list.
Step 2: Select Uninstall device from the context menu.
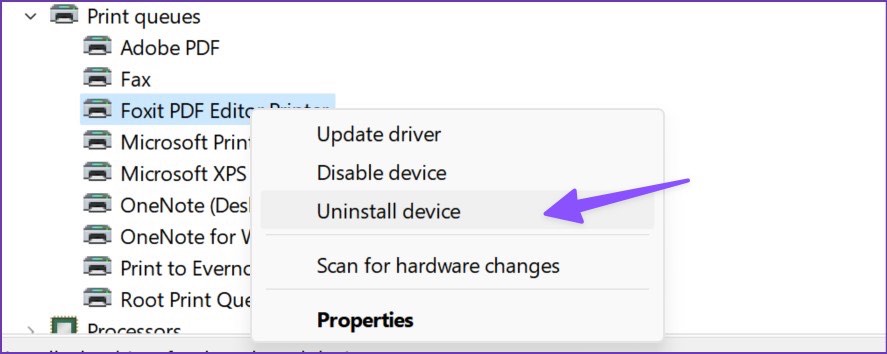
Step 5: Close the Device Manager menu and restart the PC.
Your computer will install the required printer drivers during the reboot process.
Fix 3: Remove and Add the Printer
If the printer and its related components are not installed correctly on your PC, you may have issues printing documents. Therefore, try removing the printer from your PC and adding it once again.
Step 1: Open the Settings menu on Windows. Select Bluetooth & devices from the left sidebar. Select Printers & scanners from the right pane.

Step 2: Open your printer from the list of devices. Select Remove from the following menu.

Step 3: Now, go back to the Printers & scanners menu and select Add device . Connect your printer and wait for your PC to recognize it.
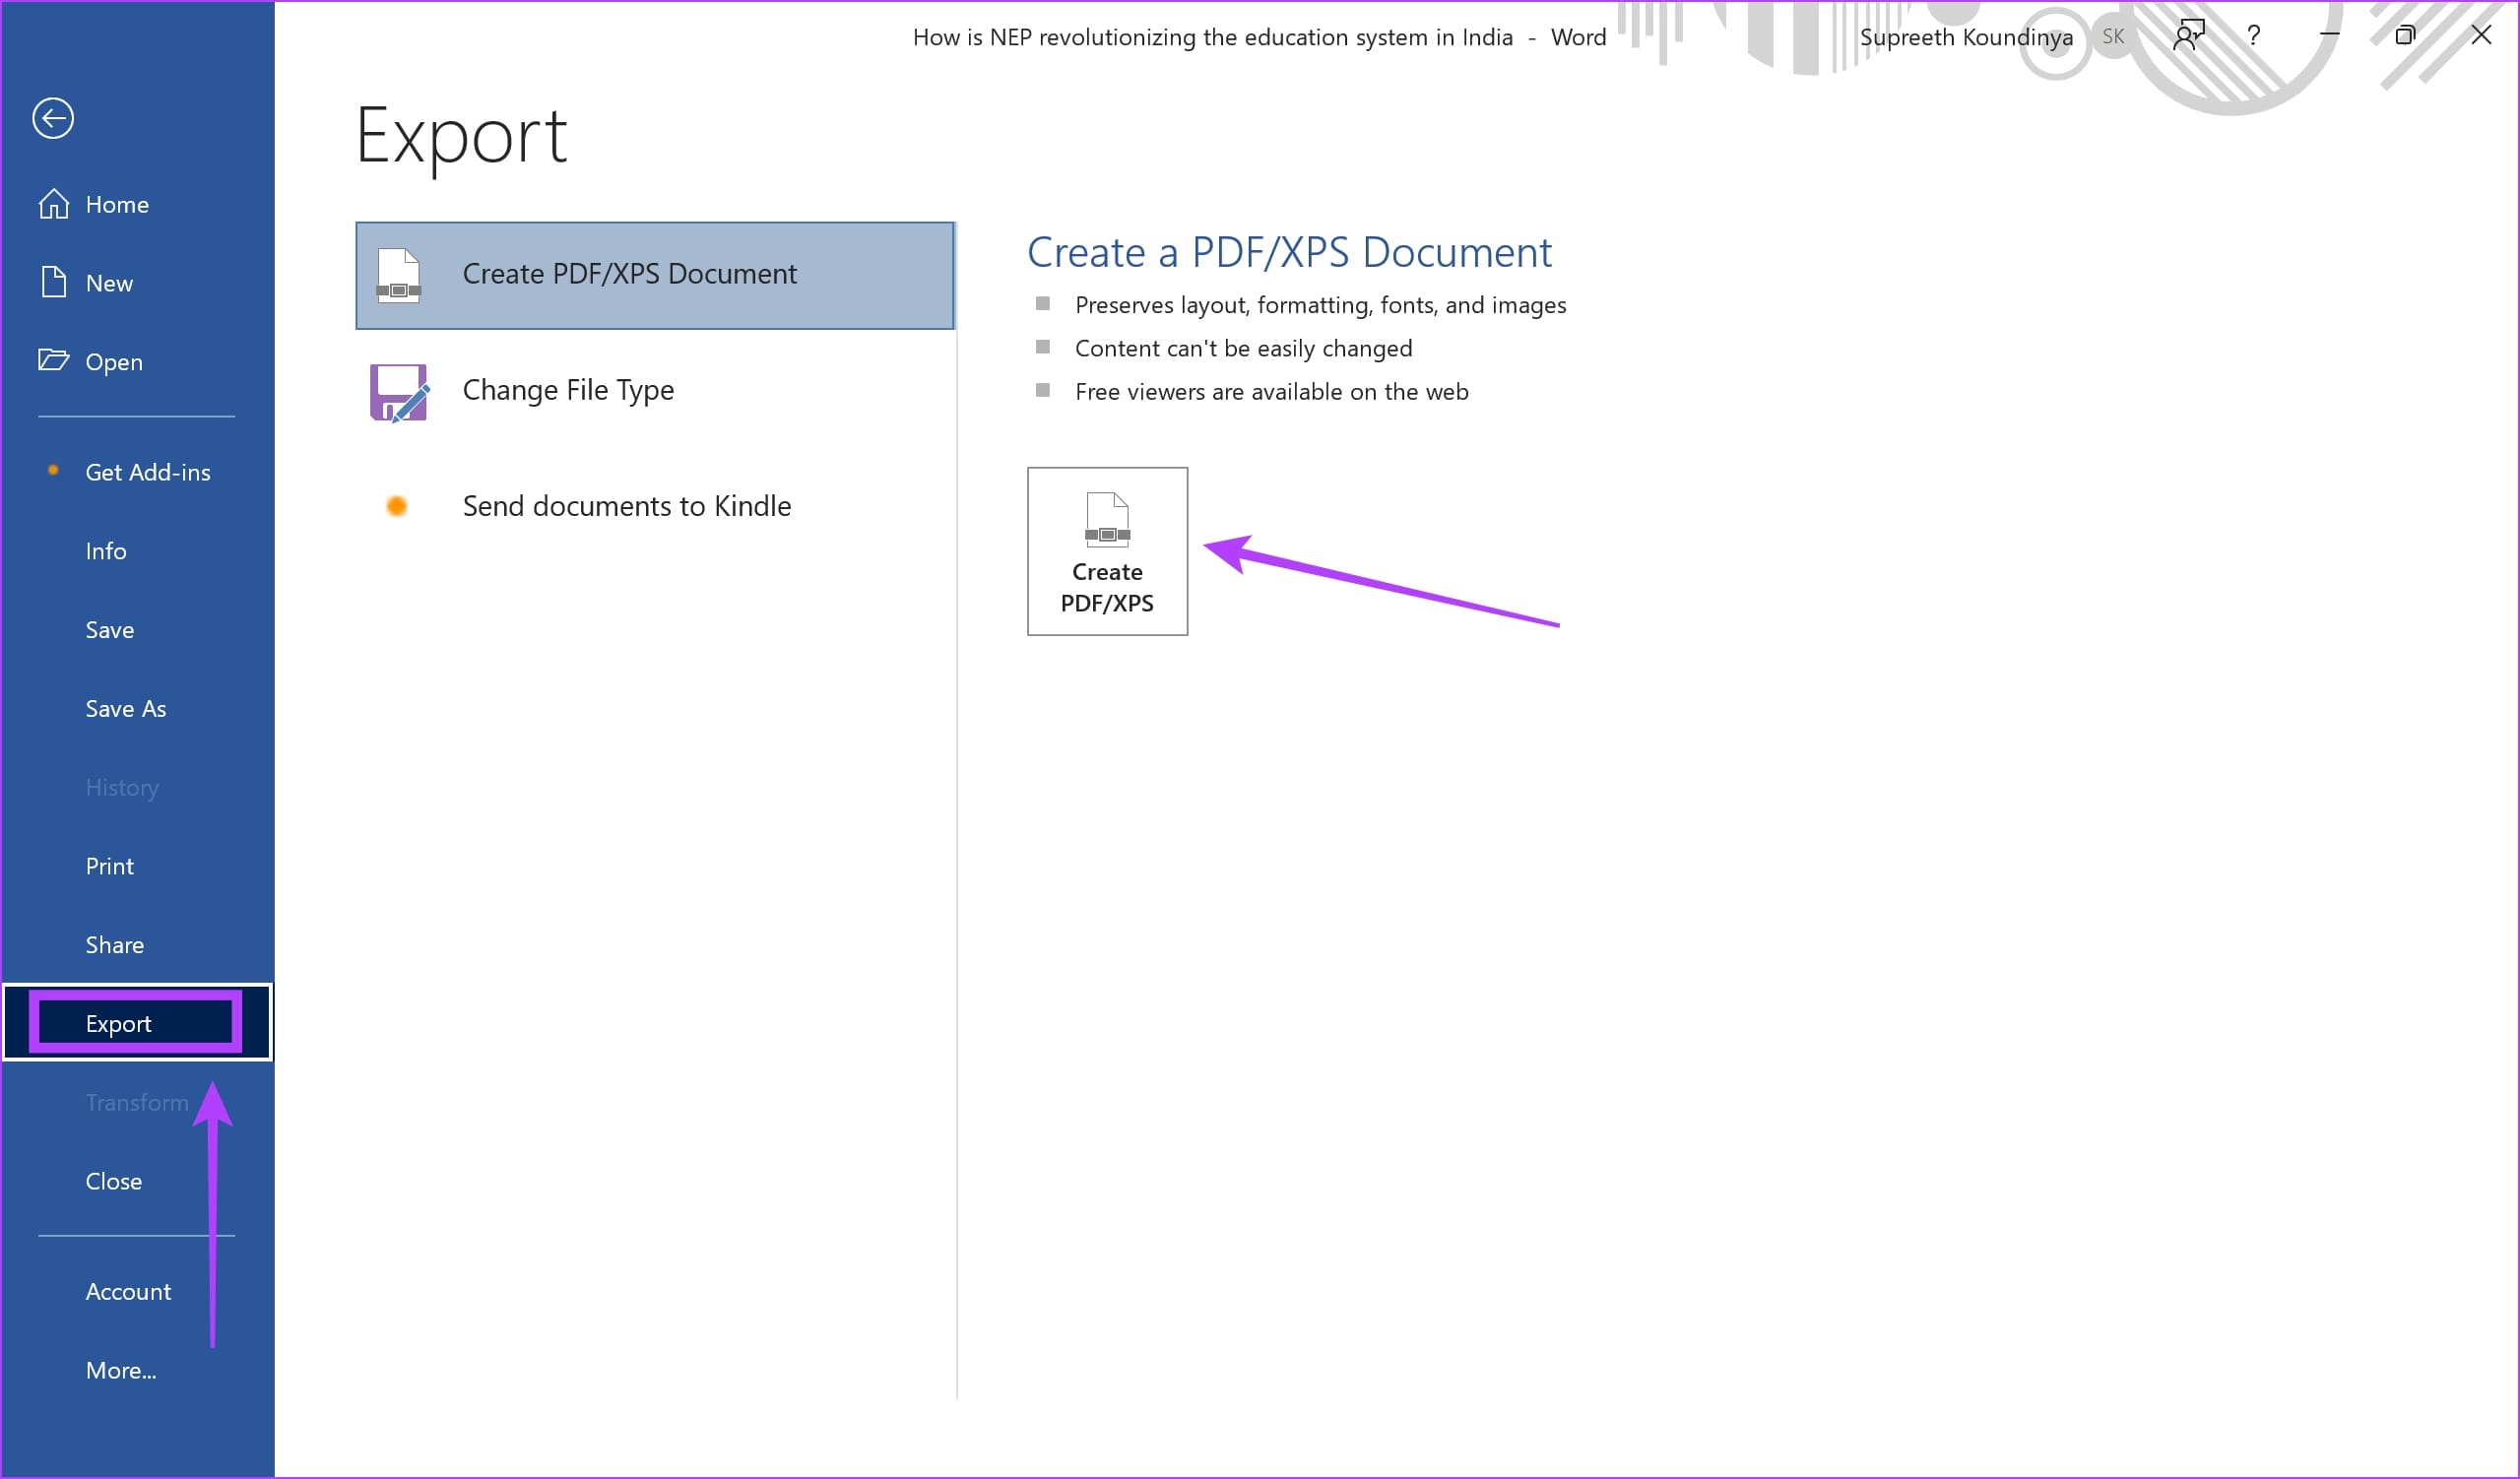
Fix 4: Export the Document as PDF and Print
If Microsoft Word stops responding when printing, you can move out of the environment and print it externally. You can do so by exporting the document as a PDF and printing the document.
To export the document, click File > Export and select the PDF option. Then, select a destination of your choice to save the document.
Open the saved PDF and try printing the same.
Also Read : Fix printer on Windows keeps printing landscape instead of portrait
Fix 5: Repair Microsoft Office
If Microsoft Office has a bug and Word does not respond when you print, try repairing the app. Your PC can help detect problems with Microsoft Word and quickly fix them.
Step 1: Open the Settings app. Click on Apps in the sidebar and go to Apps & features .

Step 2: Scroll down to find Microsoft Office > click on the three dots next to it > click on Modify .

Step 3: Use the options to repair Microsoft Office and click on Repair . You can repair and fix the issues affecting it.

If none of the above methods work, upload the Word document to Google Docs or Microsoft Office online and print it.
