While there’re plenty of tools online that can help you remove a background from an image , there’re hardly a few apps that offer a complete image editing experience. Canva is a top name among them. Popularly known for making eye-catching social media posts and logos, Canva also lets you easily remove and replace the background of an image.

Probably the best part about Canva is that it isn’t web-only. It also has a feature-rich mobile app that offers the same features found in the web version. In this guide, we’ll cover how to use Canva to remove and replace the background of an image on both mobile and PC. So, let’s roll.
How to Remove Background of Image in Canva
Step 1: Open up your preferred web browser and navigate to Canva’s website.
Visit Canva
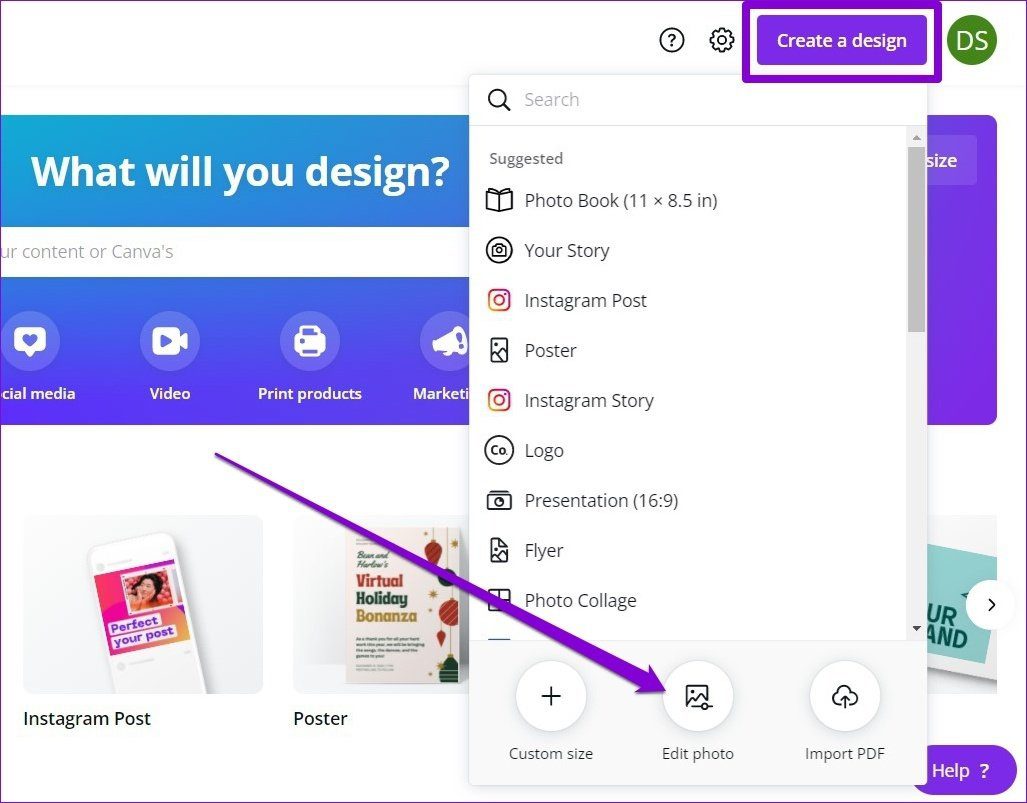
Step 2: Now click on the Create a design button to choose the Edit photo option from the menu.
Step 3: Upload the image from your PC and click on the Edit photo option.

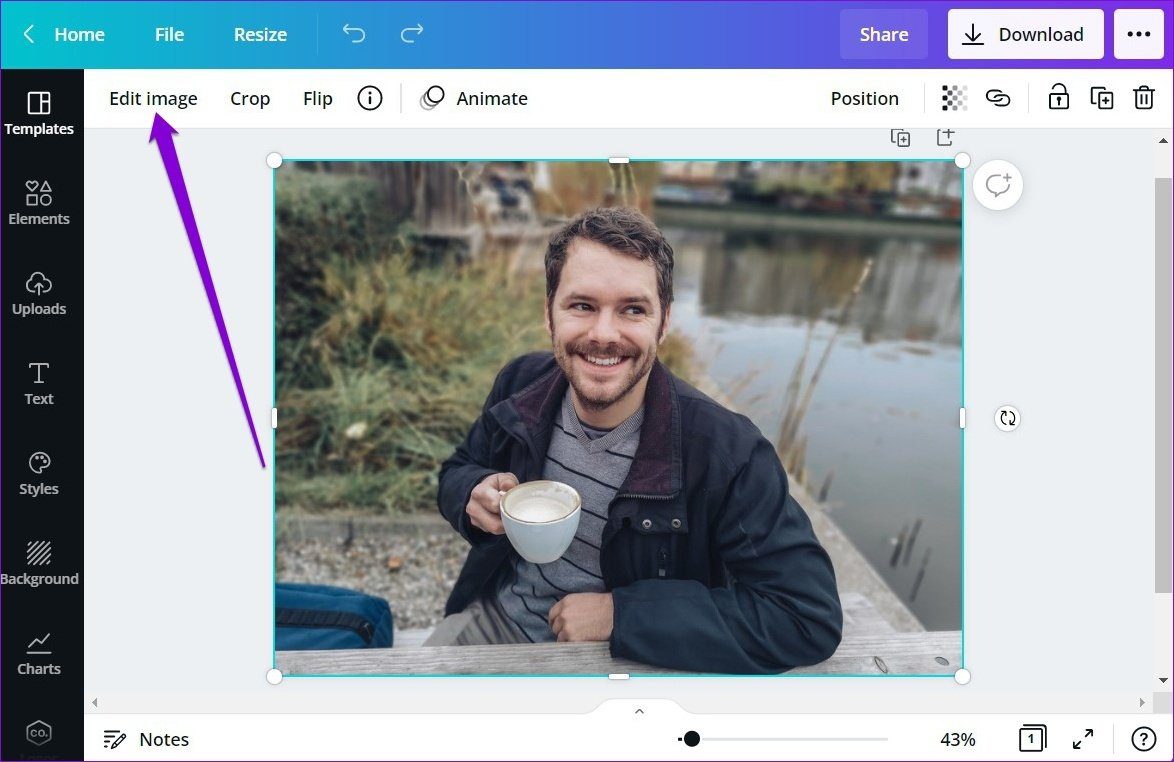
Step 4: Once uploaded, it’ll appear in a new project window. Select the image and click on the Edit image option from the toolbar.
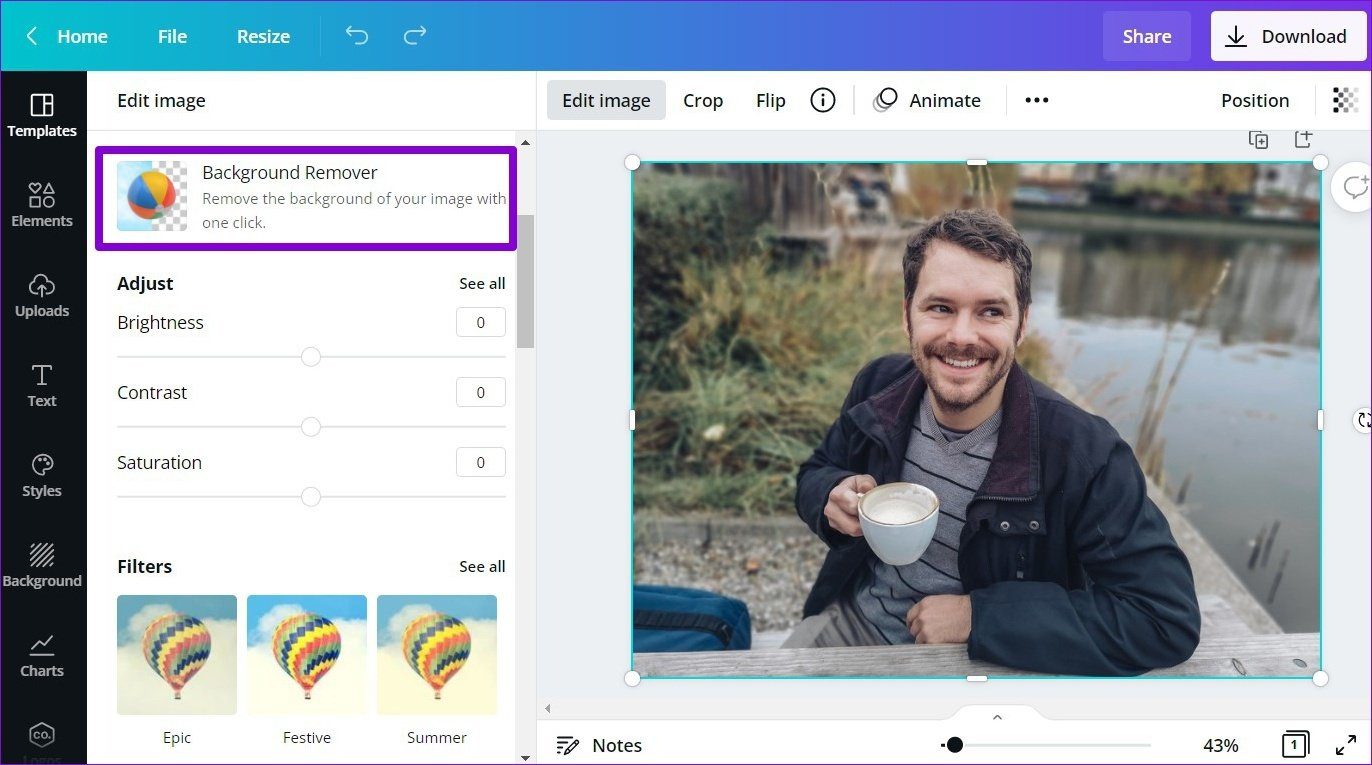
Step 5: Click on the Background Remover option from the panel that appears on your left.
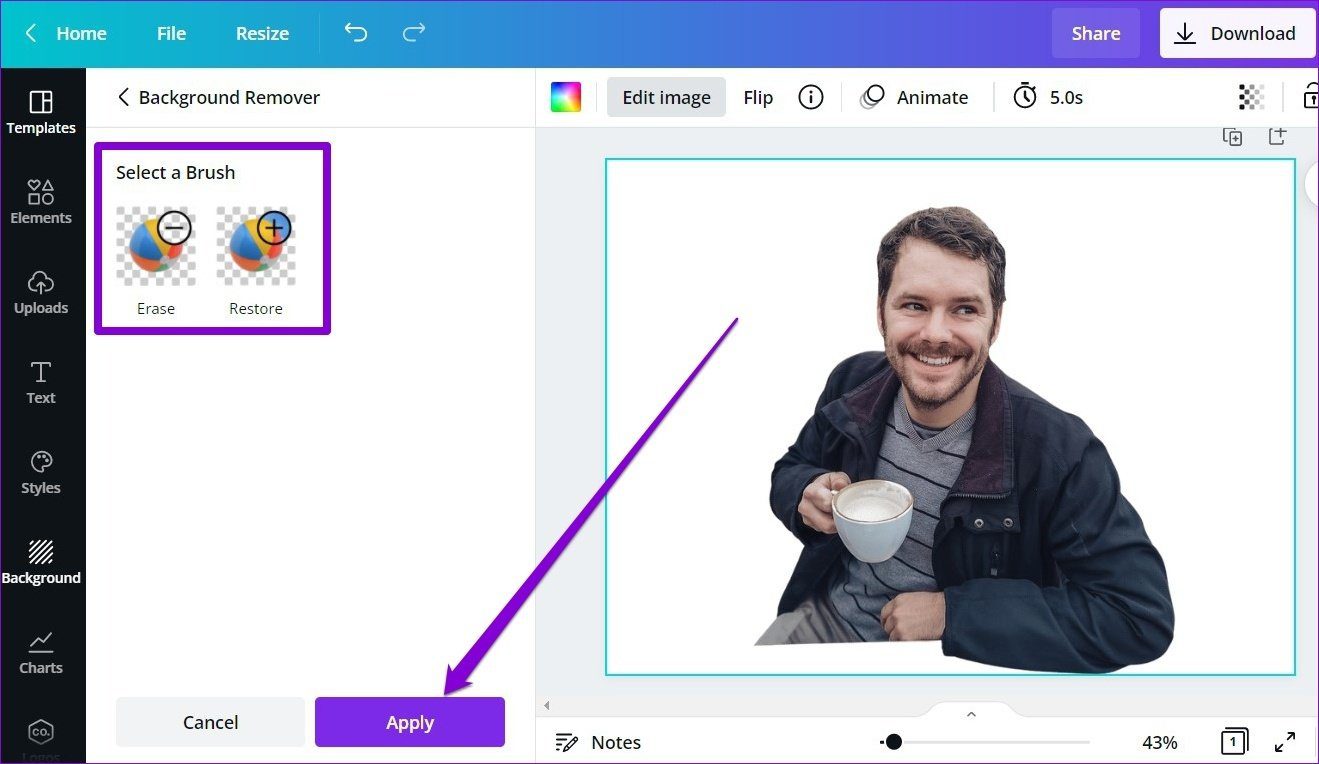
Canva will remove the background from the picture. You can use the Erase and Restore tools on your left to fine-tune the image and remove elements that Canva might have missed. Lastly, click on Apply.
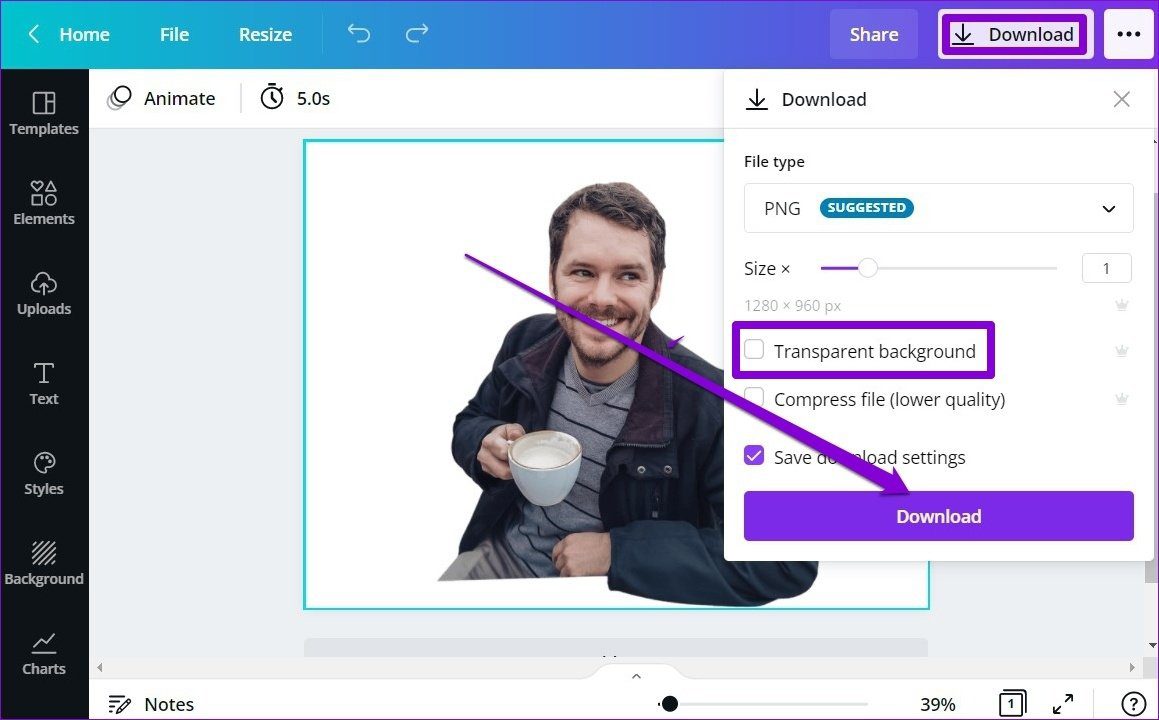
Finally, click on the Download button in the top right corner and mark the checkbox that reads ‘Transparent background’ to download your image. Lastly, click on the Download button to get your image.
How to Replace Background of Image in Canva
Aside from removing the background, Canva also offers plenty of options to customize the background of an image. Here’s how.
Step 1: Upload your image with a transparent background in Canva’s image editor.
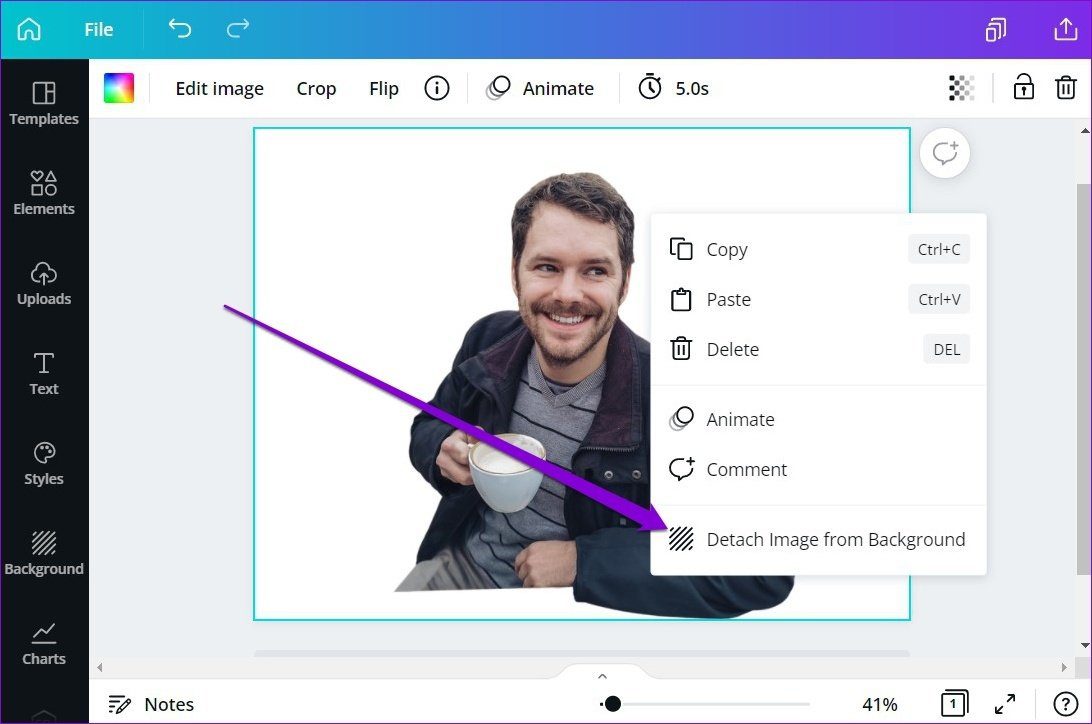
Step 2: Once uploaded, right-click on the image and select the ‘Detach Image from Background’ option.
Step 3: Now switch to the Background tab on your left. Here you can explore Canva’s extensive library of backgrounds. You can either use the search tool or explore them via categories to pick the one you like.

Step 4: Click on an image to use it as background.

Once you’re done picking the background, download your image using the button in the top right corner.
Besides downloading, you can also share your photo directly from Canva to your Facebook, Instagram, and Google Drive accounts.
How to Remove Background of Image in Canva App
Canva also offers the background removal tool in its mobile app, available for both Android and iOS. Here’s how to use it.
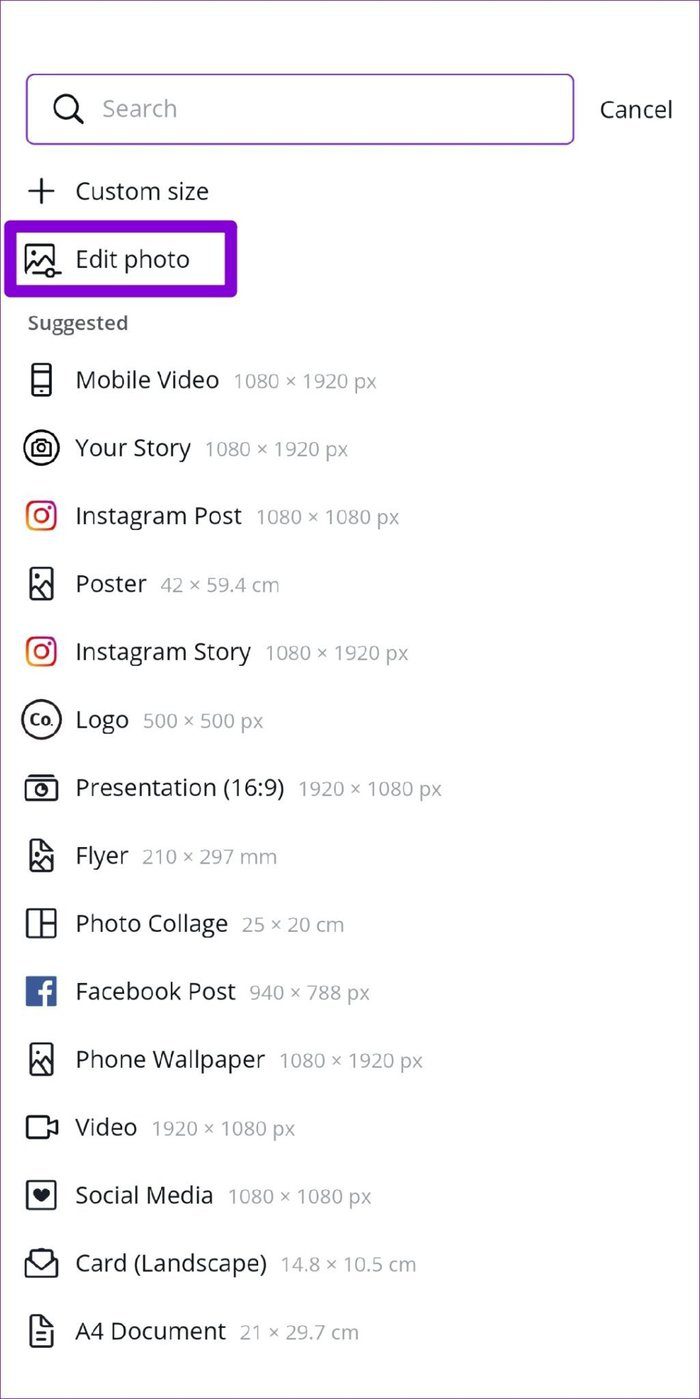
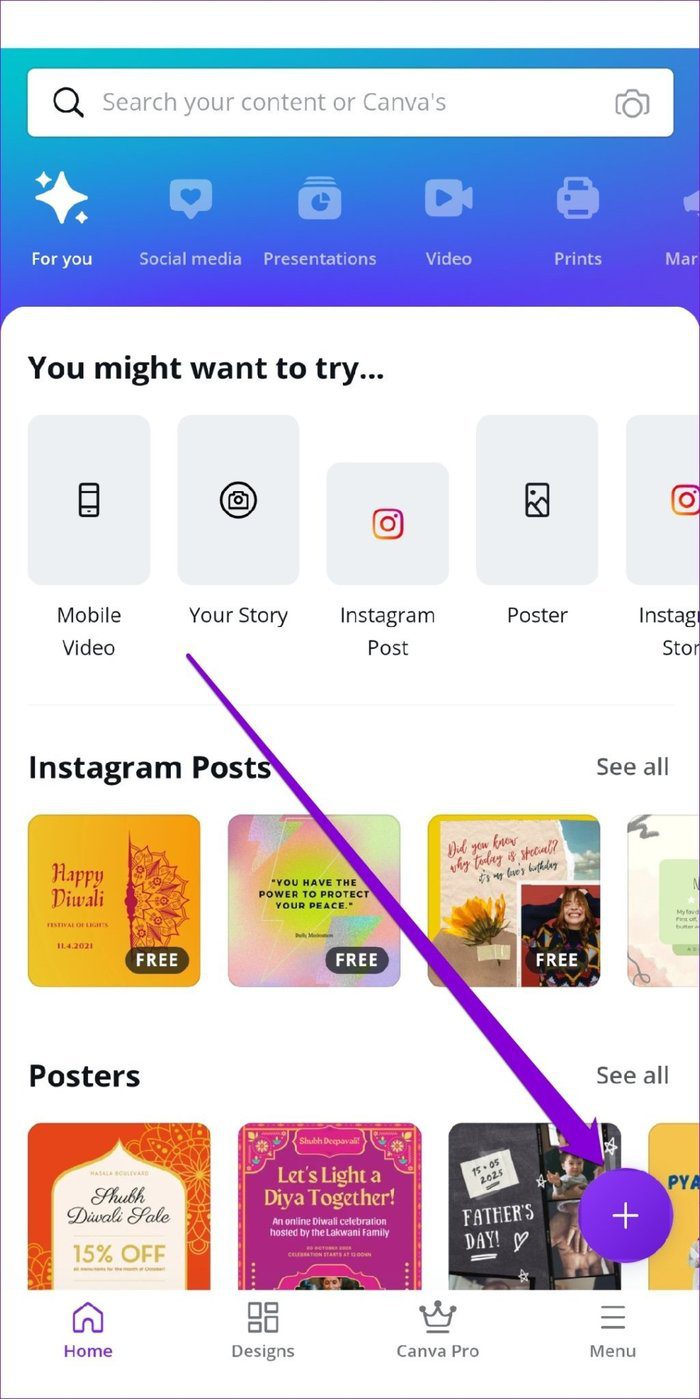
Step 1: Launch the Canva app on your phone. Tap on the Plus icon in the bottom right corner and select the Edit Photo option to upload your image.

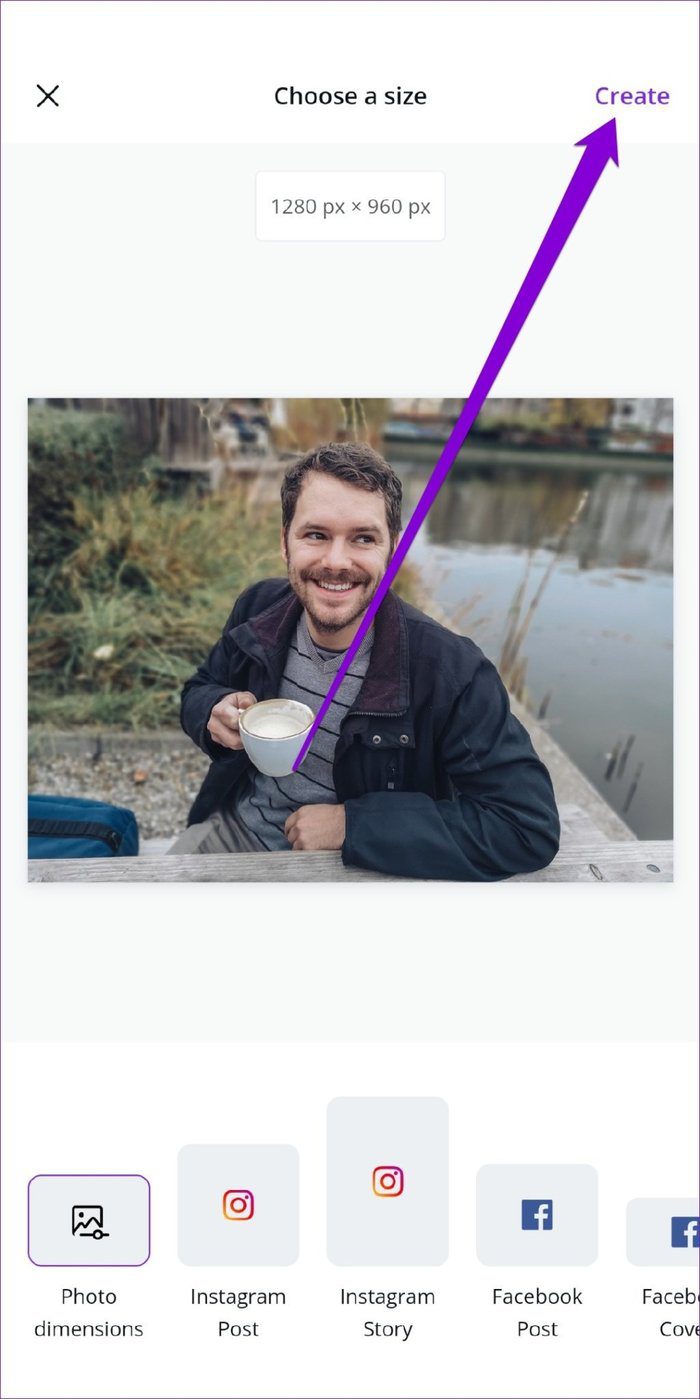
Step 2: Next, select a preferred dimension for your image and tap on Create in the top right corner.
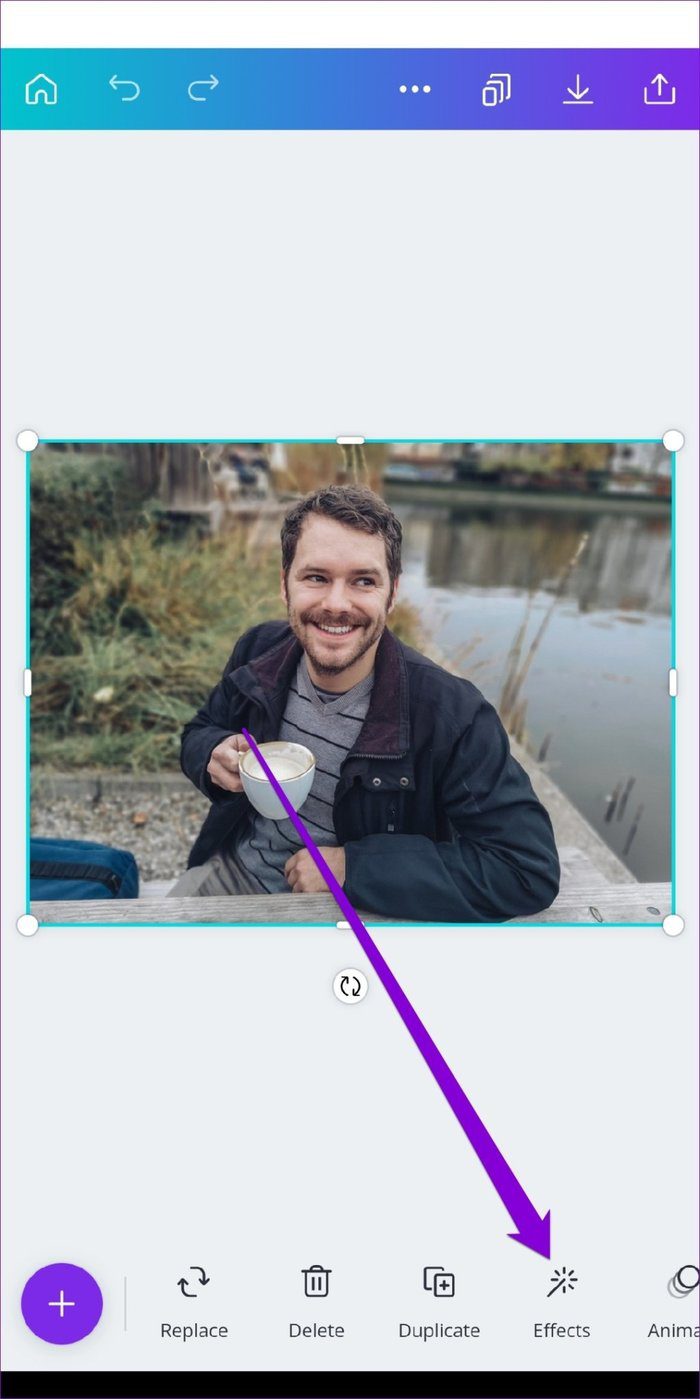
Step 3: Now select the image, tap on the Effects option from the toolbar and select the BG Remover option.

Wait for Canva to work its magic and that’s it. It’ll automatically detect and remove the background from your image.

To get your image, tap on the download icon up top and choose the ‘Save as’ option. Next, select your preferred file type using the drop-down menu and hit Download. You can also mark the check box to download your image with a transparent background.


How to Replace Background of Image in Canva App
Once you’ve successfully removed the background of an image, here’s how to customize the Canva app.
Step 1: Open the Canva app and tap on the Plus icon in the bottom right corner to create a blank template. You can pick from the available sizes or enter a custom size.

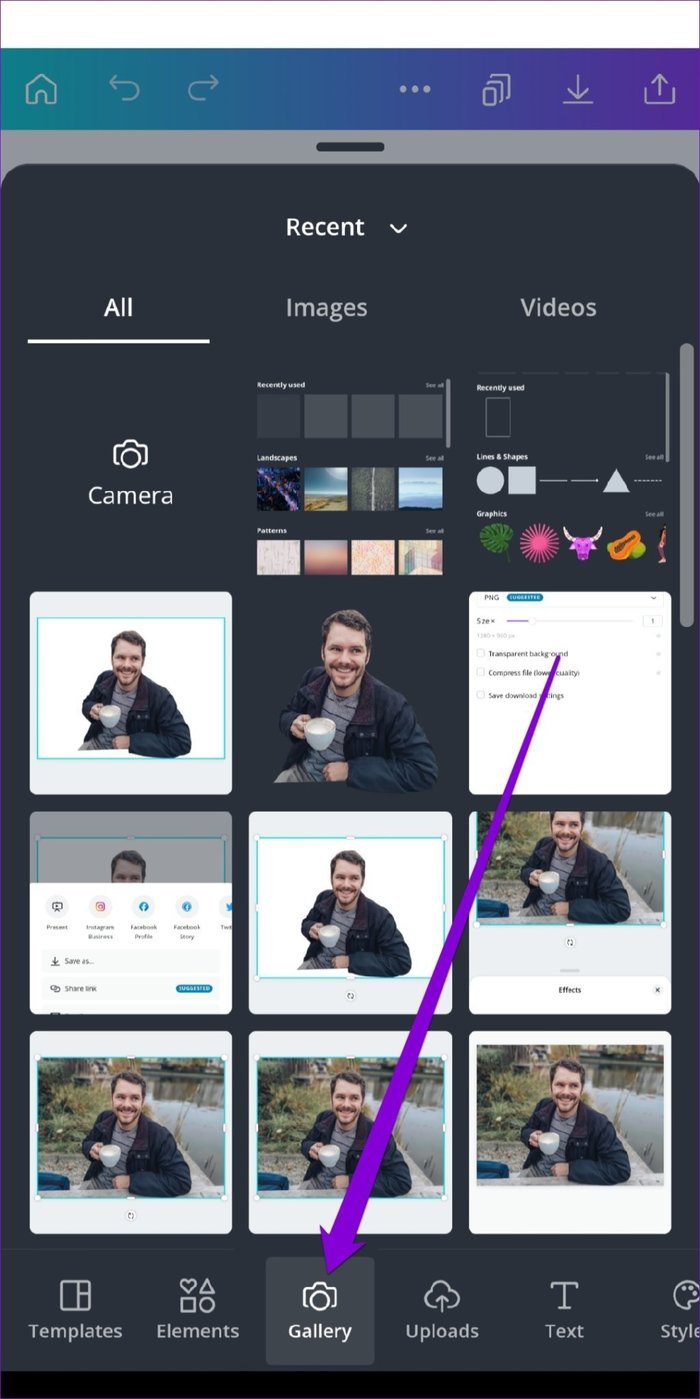
Step 2: In your blank template, tap on the Plus icon in the bottom left to reveal more options. Now tap on the Gallery option pick the image with transparent background.

Step 3: Again, tap on the Plus icon and navigate to the Background tab. Now explore the available background and select the one you wish to use.


Step 4: Once applied, resize and position your foreground image using the borders around it.


You can play around with different backgrounds and editing options. Once you’re satisfied, download the image in your preferred format or share it directly to a social media platform from there.
Editing Made Easy
Removing and replacing the background of an image is certainly easy with Canva. Although the background removal tool requires a Canva Pro membership, you can use an app like Paint3D to make the background transparent and then use Canva to customize your image for free.
Was this helpful?
- Before printing from Canva, you may enable Show print bleed and Show margins to ensure no important parts get cut off.
- You can download files to print on the web and mobile apps.
Method 1: Using Your Desktop Computer
Step 1: Visit the Canva website in a browser and sign in with your account details.
Step 2: Create a new design or open an existing one. Make necessary changes using a feature-rich Canva editor.
Step 3: Click File at the top > expand View settings > enable Show print bleed to avoid unnecessary white edges when printing.

Step 4: You can also enable margins to ensure that essential design elements aren’t cut when printed.
Step 5: Select Notes at the bottom > enter the notes you want to keep separate.
Step 6: Click the Share icon > hit Download .

Step 7: Change file type to PDF Print , which is ideal for printing. Pick any option.
- Crop marks and bleed: When downloading your design, add crop marks to mark where to cut the paper.
- Flatten PDF: This option converts your design with several layers into one and ensures that all your Canva design elements are printed.
- Includes notes: You can add notes (as shown in the fifth step) with your design and download them as PDF.

Step 8: Lastly, pick a relevant Color Profile . Canva recommends RGB for digital use and CMYK for professional printing.

After downloading your Canva design, print it with your printer using the steps below.
Step 9: Open the desktop File Explorer or Finder menu and launch the PDF file in your preferred editor.
Step 10: Press Ctrl + P (Windows) or Command + P (on Mac) to open the Print menu.
Step 11: Lastly, select your Printer > set Layout > color print > finally, click on Print .

Also, if your printer isn’t working on Windows , check our dedicated post to fix the issue.
Method 2: Using a Mobile Device
Canva uses the same interface on Android and iPhone . In the screenshots below, we will use Canva for iPhone. You can also use it on Android to print your designs.
Step 1: Download and launch Canva on your iPhone, then sign in with your account details.
Step 2: Select your existing design and make edits. Tap the Share icon at the top and tap Download , then select PDF Print , enable flatten PDF , include notes if you want, and tap Download .

Step 3: Canva generates the PDF file on your phone and opens the share sheet. Lastly, tap Print > select your printer > enable the Print in Color toggle > tweak media quality > select Print at the top right corner.

Sometimes, the printer does not show up on the iPhone . If you experience this, check our separate post to fix the problem.
